Customizing fields in Enpass
Fields within Enpass Items can be highly customized. The names and types of fields can be changed, they can be reordered, sensitive content can be masked, and a field’s history can be viewed.
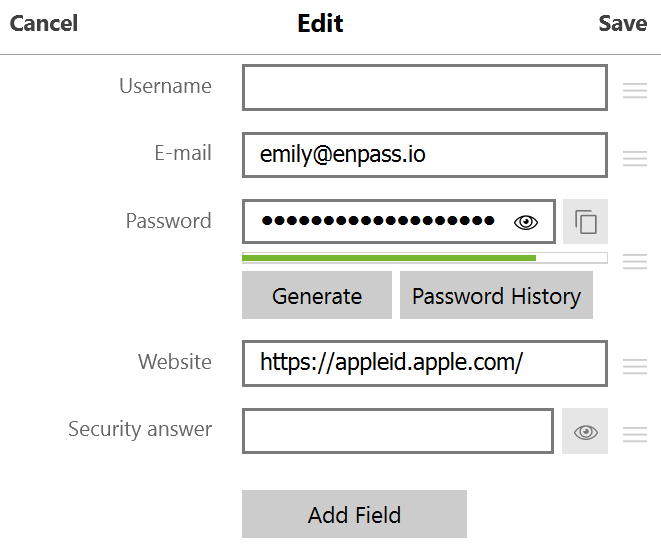
To change a field’s name or function:
- In the Item Details view, click
 on the menu bar.
 - Click the label of the field you want to edit.
- Enter a new field name or choose a new field type from the drop-down list.

- Select the Sensitive checkbox if you want the content of this field to be private.
- Click Save to close the field edit view.
- Click Save in the toolbar to save your changes.
To add a new field:
- In the Item Details view, click on the menu bar.
- Find and click the Add Field button.
- Click Field Name to customize the field.
- Give the field a name, and select a field type from the drop-down.
- Select the Sensitive checkbox if you want the content of this field to be private.
- Click Save.
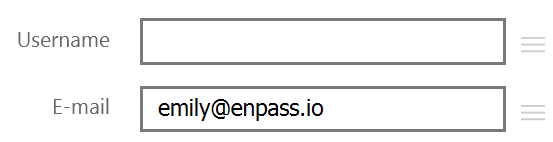
- Click and drag the ≡ icon to the right of the field to reposition it within the Item Details view.
- Click Save in the toolbar to save your changes.
To reorder fields:
- In the Item Details view, click on the menu bar.
- Click and drag the ≡ icon to the right of the field to reposition it within the Item Details view.
- Click Save in the toolbar to save your changes.
To delete fields:
- In the Item Details view, click on the menu bar.
- Click Field Name, then click the Delete button.

- Click Save in the toolbar to save your changes.
To view a field’s history:
- In the Item Details view, right-click any field's content, and select History.
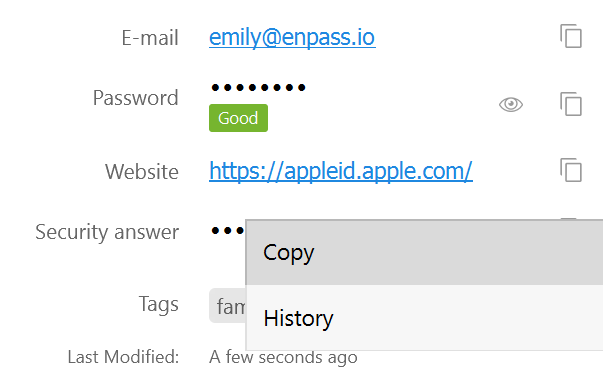
- When finished click ✖ to close the history view.
To change a field’s name or function:
- In the Item Details view, tap Edit.
- Find and tap the label of the field that you want to edit.
- Enter a new name for the field, and/or tap > to select a new field type.
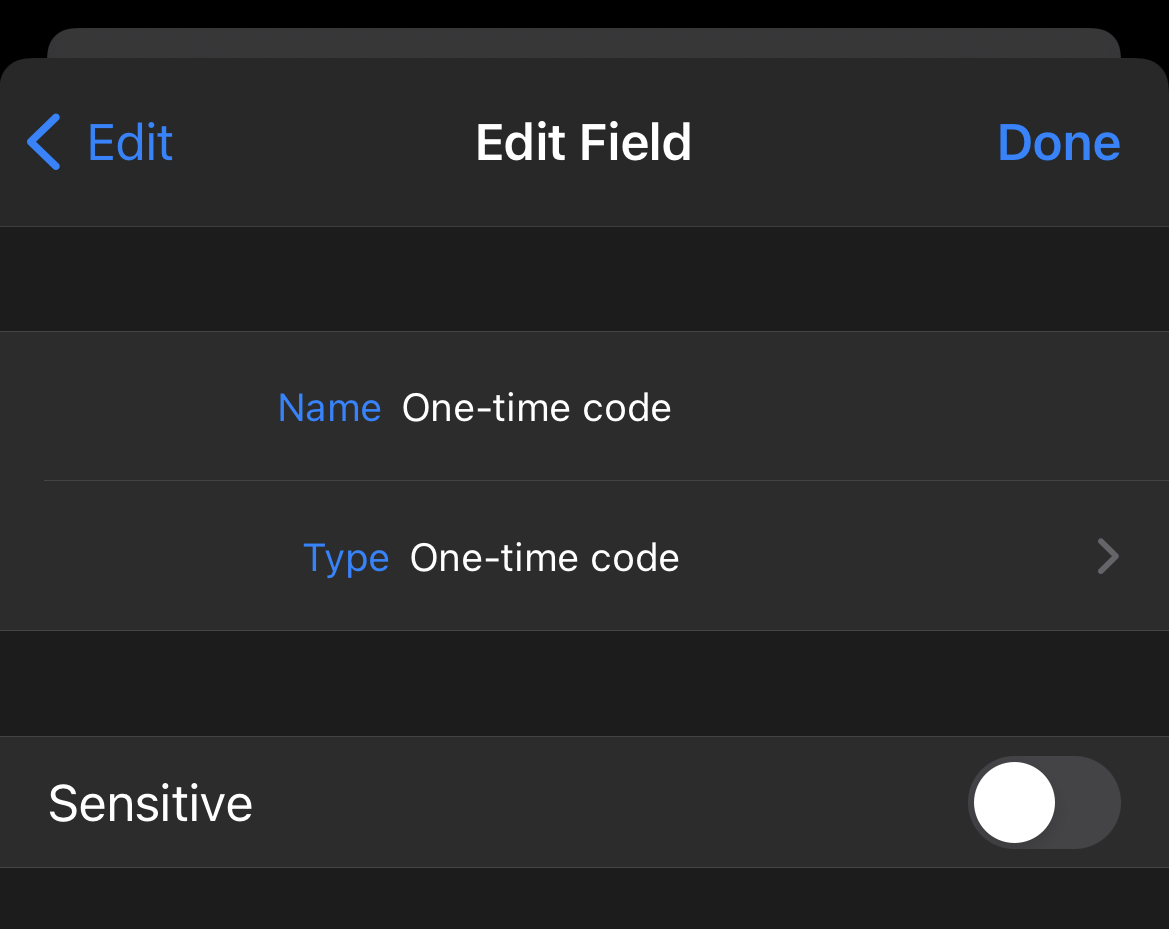
- Toggle on the Sensitive option if you want the content of this field to be private.
- Tap Done to finish editing the field.
- Tap Save in the Item Details view to save your changes.
To add new fields:
- In the Item Details view, tap Edit.
- Find and tap
 Add Field.
 - Enter a name for your new field, then tap > to select a field type.
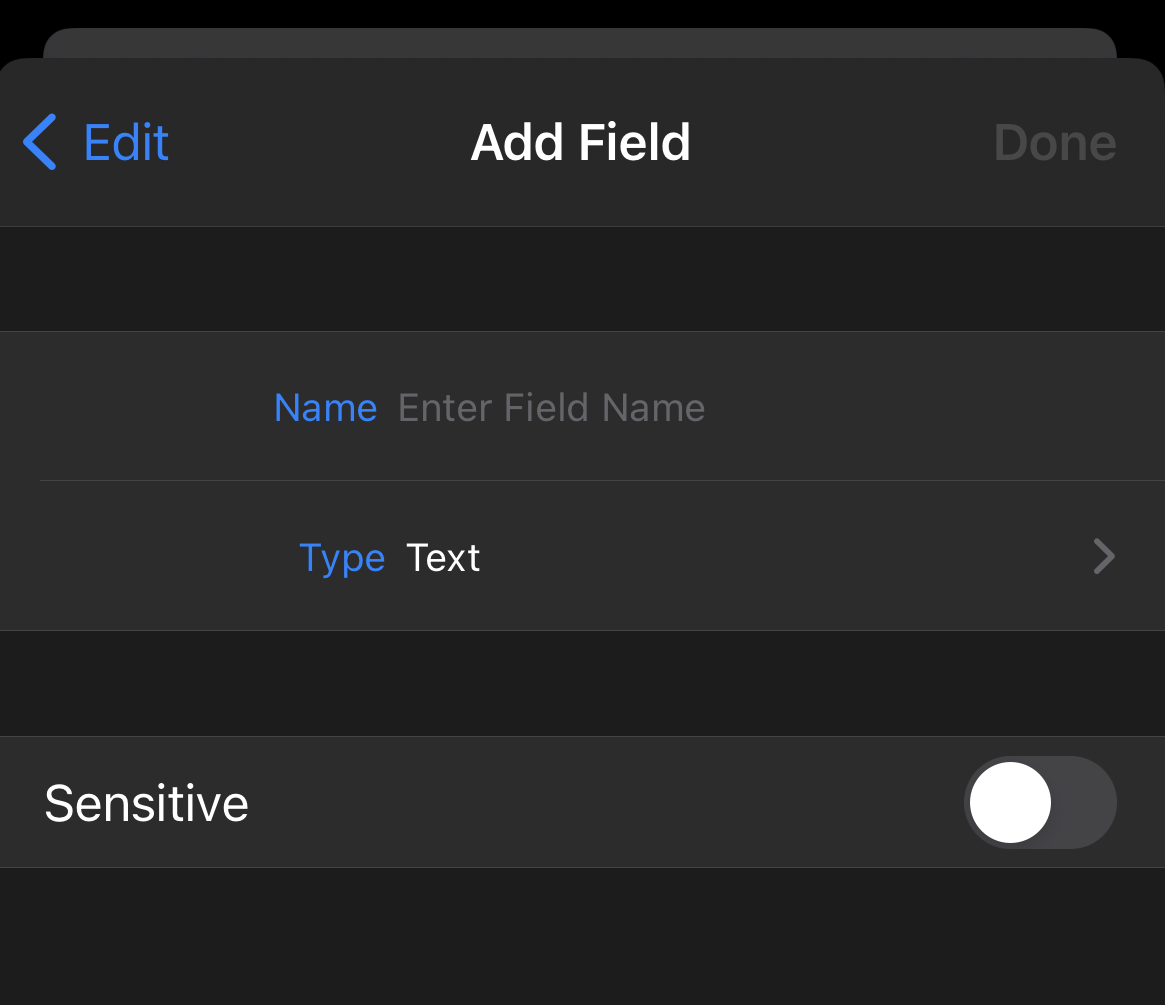
- Toggle on the Sensitive option if you want the content of this field to be private.
- Tap Done to finish adding your new field.
- To reposition your new field, find and tap ≡ Reorder Fields.
- Tap Save in the Item Details view to save your changes.
To reorder fields:
- In the Item Details view, tap Edit.
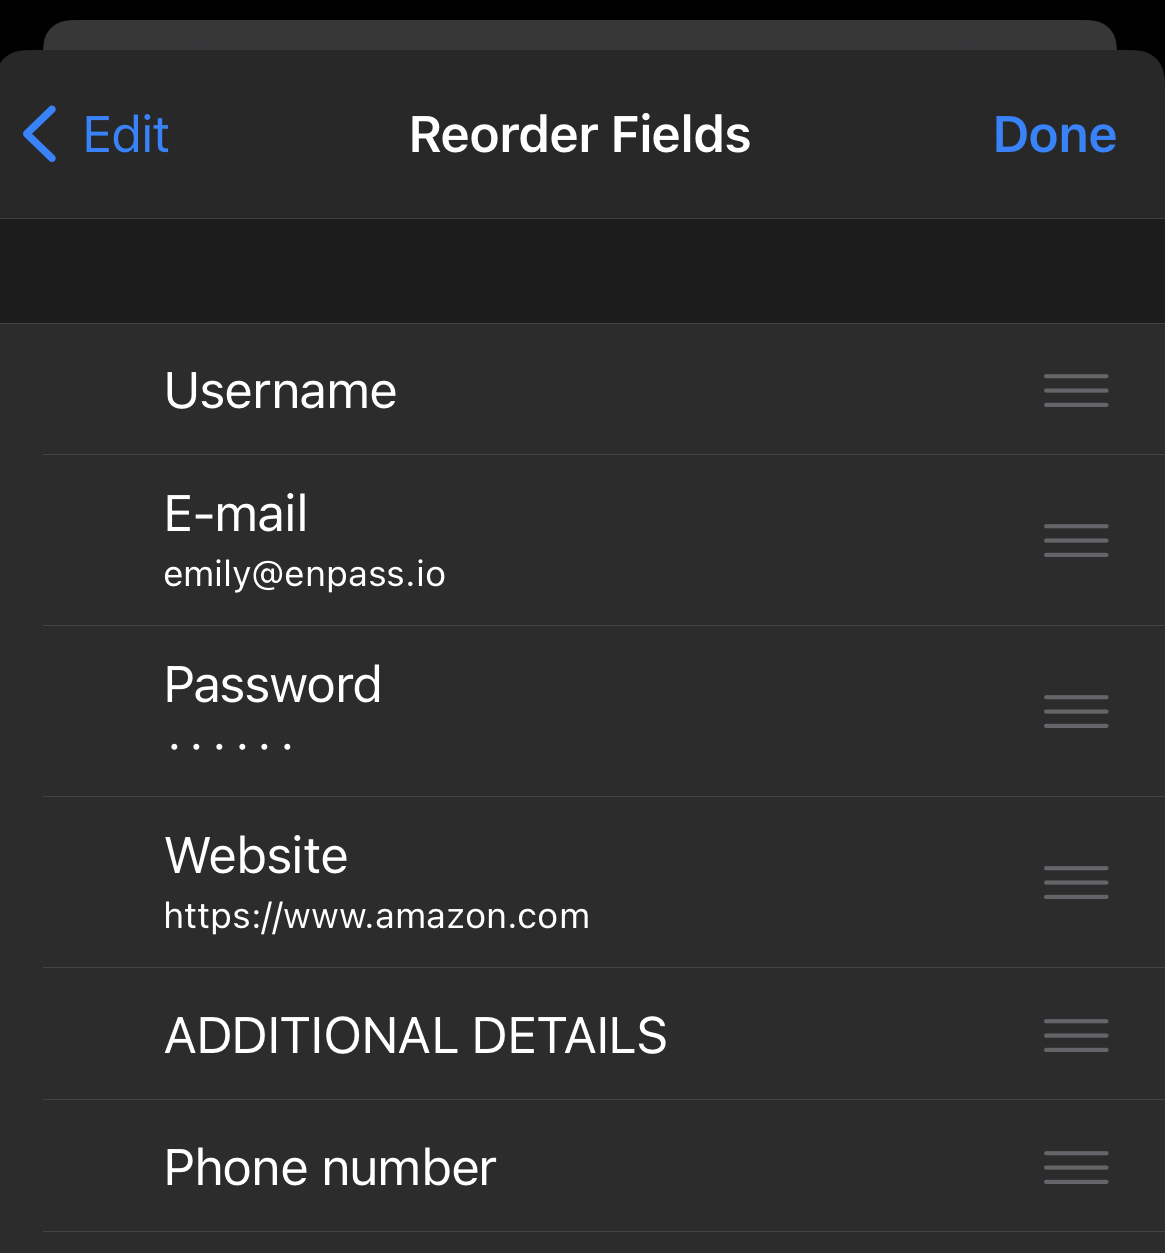
- Find and tap ≡ Reorder Fields.
- Use the ≡ icon to drag fields into the order you prefer, and tap Done when finished.
- Tap Save in the Item Details view to save your changes.
To delete fields:
- In the Item Details view, tap Edit.
- Find and tap the label of the field that you want to delete.
- Tap Delete Field, then tap Delete in the warning alert.

- Tap Save in the Item Details view to save your changes.
To view a field’s history:
- In the Item Details view, tap a field’s content.
- Tap More, and then select History.

- When finished tap Cancel to close the history view.
To change a field’s name or function:
- In the Item Details view, tap at the top-right corner.
- Find and tap the label of the field that you want to edit.
- Enter a new name for the field, and/or select a field type from the drop-down.
- Toggle on the Sensitive option if you want the content of this field to be private.
- Tap Save to finish editing the field.
- Tap Save in the Item Details view to save your changes.
To add new fields:
- In the Item Details view, tap at the top-right corner.
- In the Edit view, tap ⋮ at the top-right corner, and select Add Field.

- Enter a name for your new field, and select a field type from the drop-down.
- Toggle on the Sensitive option if you want the content of this field to be private.
- Tap Save to add your new field to your item.
- To reposition your new field, tap ⋮ at the top-right corner of the Edit view, and select Reorder Fields.
- Tap Save in the Item Details view to save your changes.
To reorder fields:
- In the Item Details view, tap at the top-right corner.
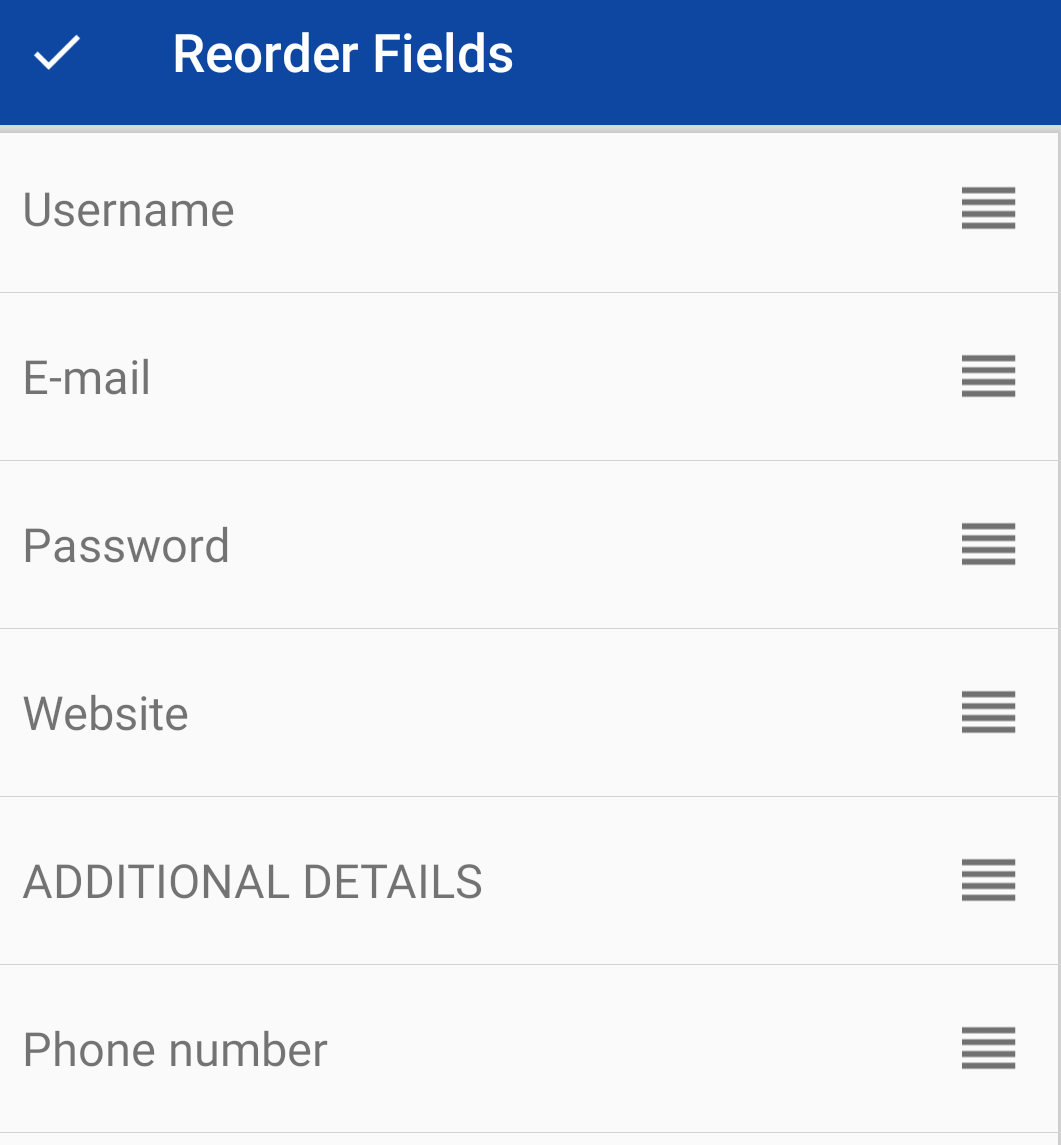
- In the Edit view, tap ⋮ at the top-right corner, and select Reorder Fields.
- Use the ≡ icon to drag fields into the order you prefer, and tap ✔ when finished.
- Tap Save in the Item Details view to save your changes.
To delete fields:
- In the Item Details view, tap at the top-right corner.
- Find and tap the label of the field that you want to delete.
- Tap Delete icon (trash can), then tap Delete in the warning alert.

- Tap Save in the Item Details view to save your changes.
To view the field history:
- In the Item Details view, tap the right edge of any field’s content.
- Tap ••• at the right side of the field and select History.

- When finished tap the Back icon to close the history view.