Manage Groups Polices in Admin Console
Groups Policies allow organizations to enforce different policies for specific user groups, providing flexibility in policy management.
To Set-up Group Policy
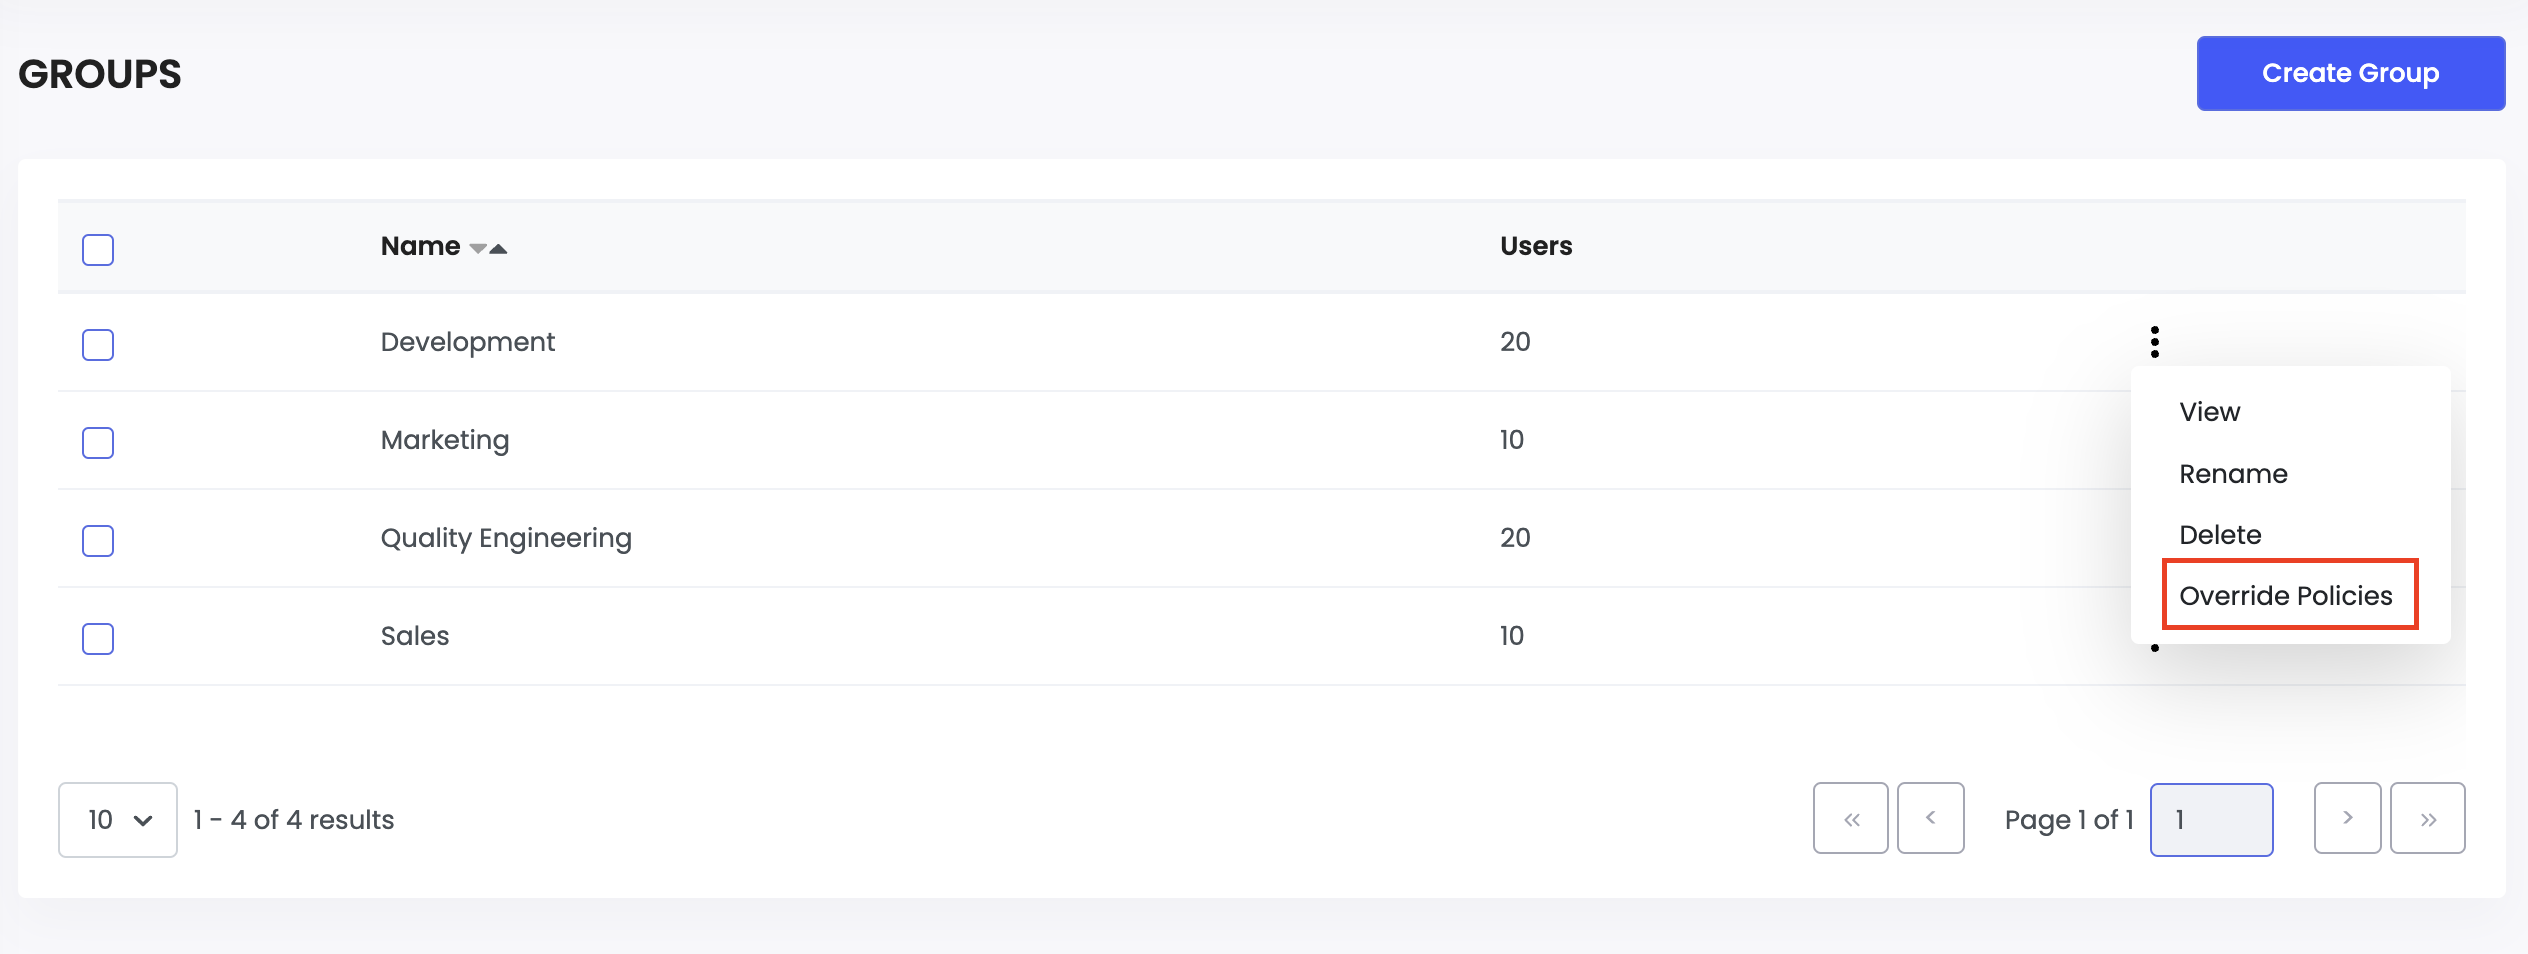
- Navigate to the Groups section.
- Click the 3-dot menu next to the target group and select ‘Override Policies’.
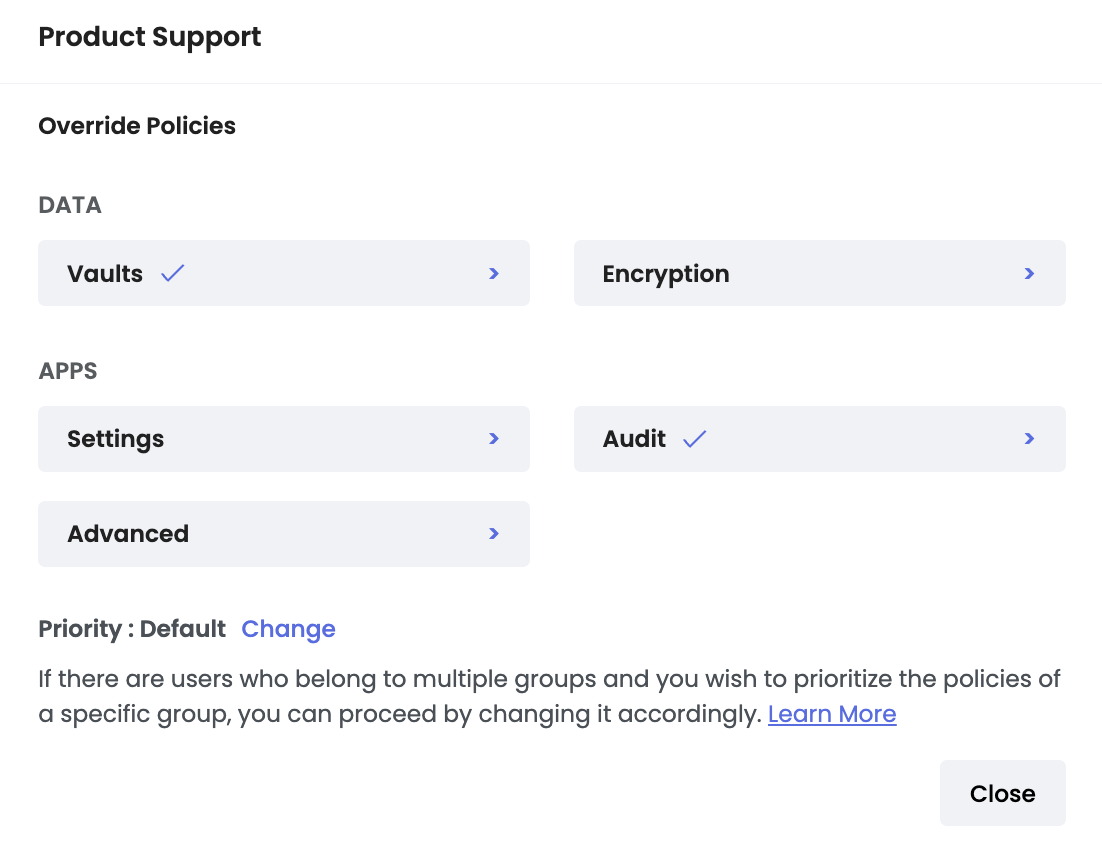
- A pop-up will appear, displaying various policy sections. Select a section to view and modify its policies. Any overridden policy will display a Check Mark.
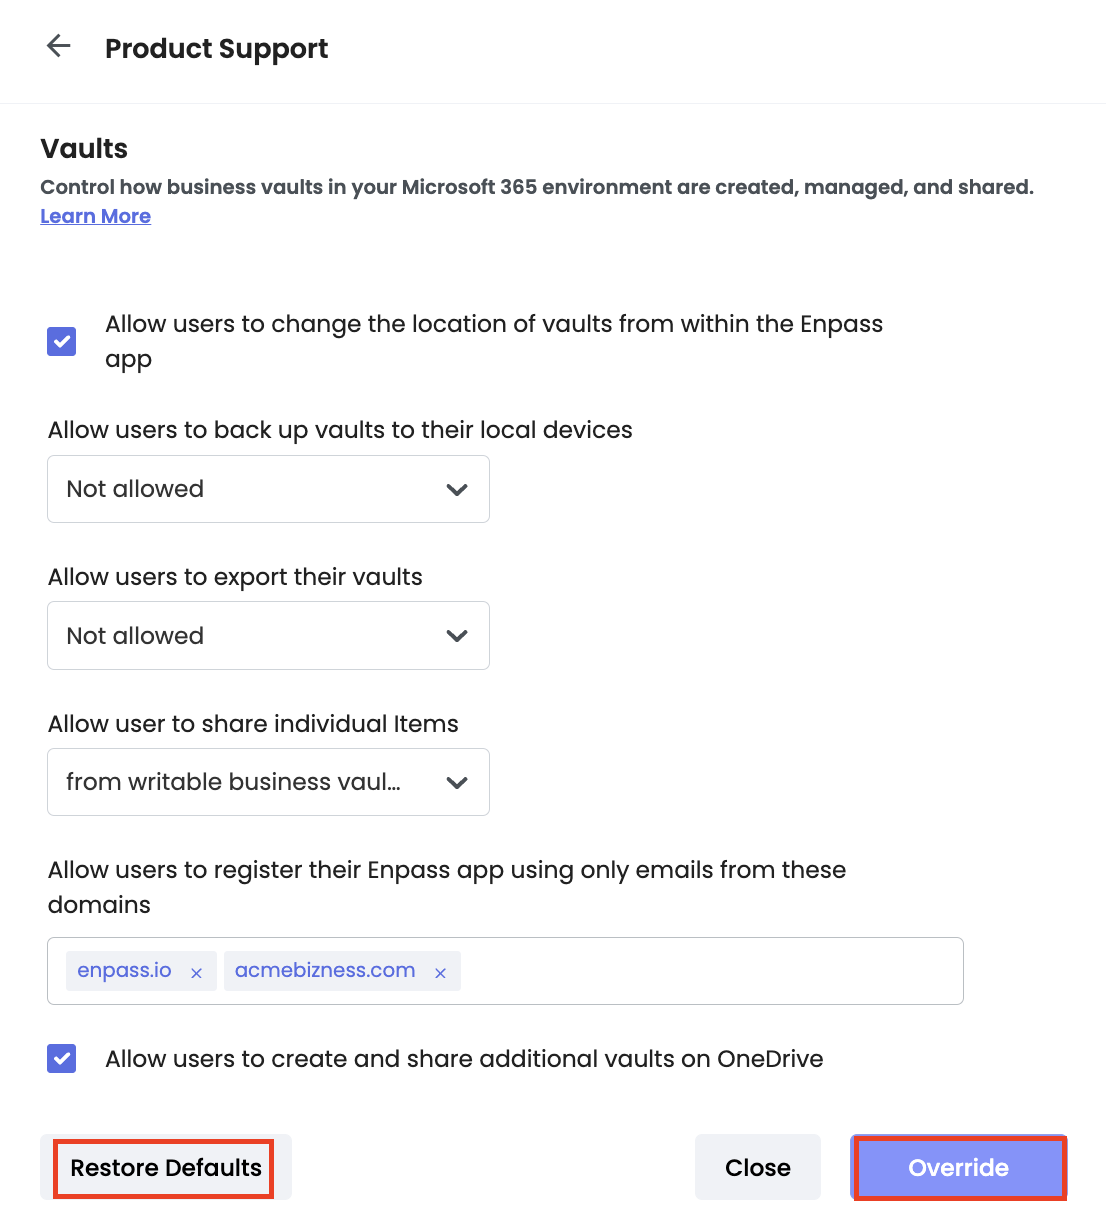
- Users can revert changes to default by clicking ‘Restore Defaults’ (disabled if no policies are overridden). Click ‘Override’ to save changes and close the pop-up.
Group Priority Level
Defines which group's policies take precedence when a user is part of multiple groups with different policies.
- Priority is determined numerically – a lower number indicates a higher priority.
- If multiple groups have the same priority, the most recently created group takes precedence.
- By default, all groups have a priority level of 999999 (shown as ‘Default’).
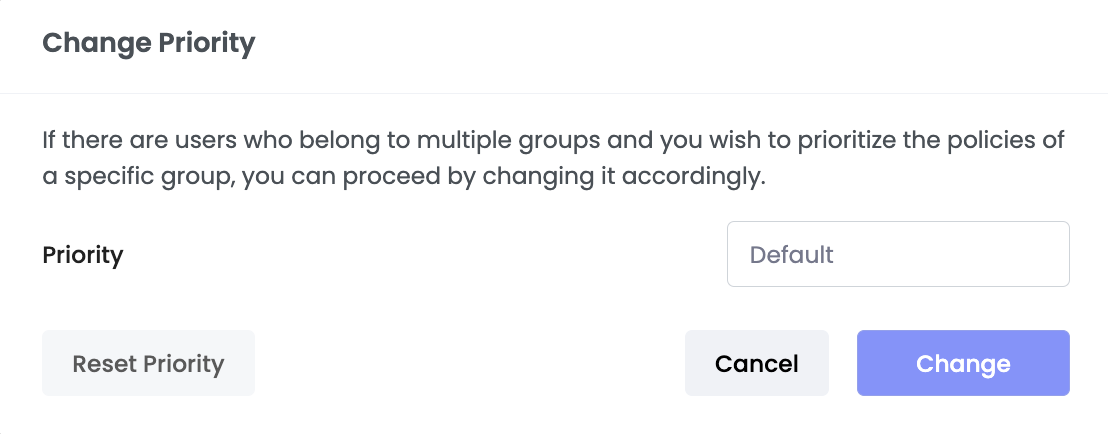
- Admins can modify the priority by clicking ‘Change’, opening a pop-up where they can set a new priority level.
- Clicking ‘Reset Priority’ restores the priority level to default.
This system ensures precise control over policy enforcement while maintaining flexibility across different teams and departments.