
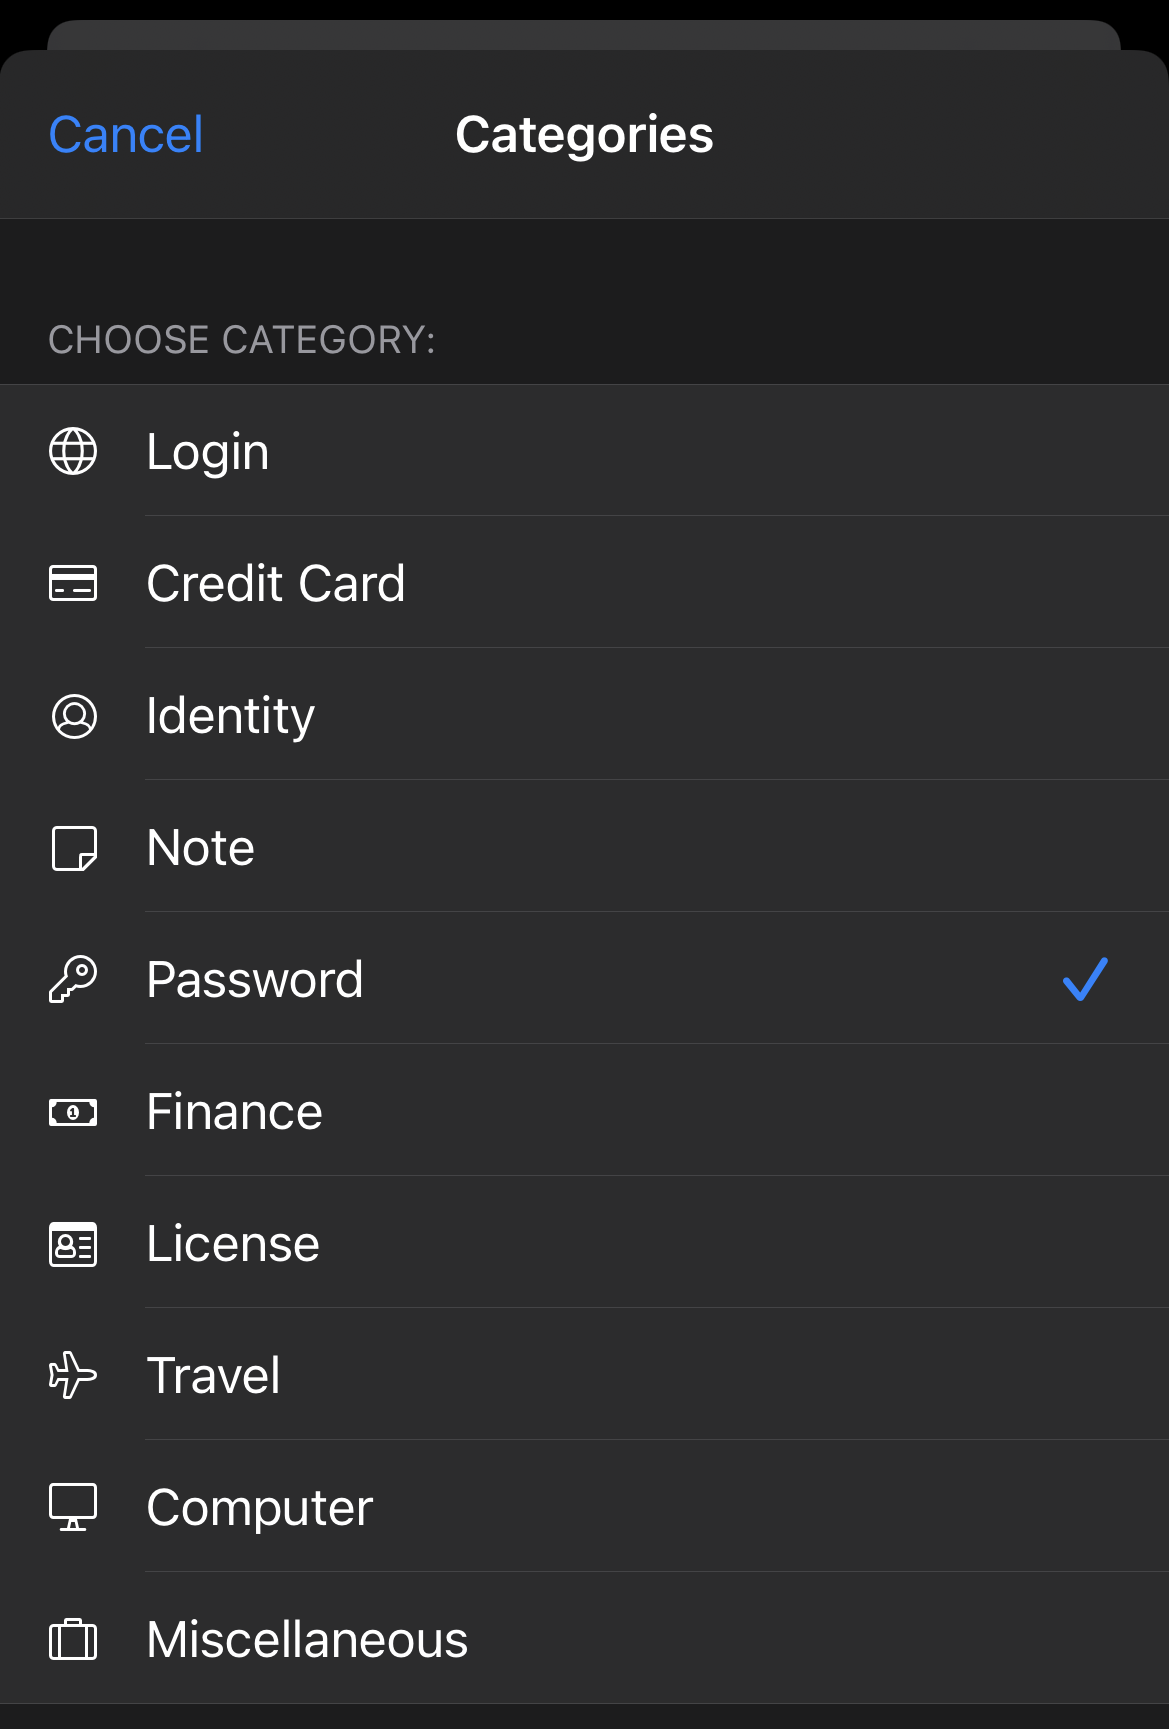
To change the category of an existing item:
- In the Item Details view, scroll down and select Change Category.
- Select a new category from the options displayed.
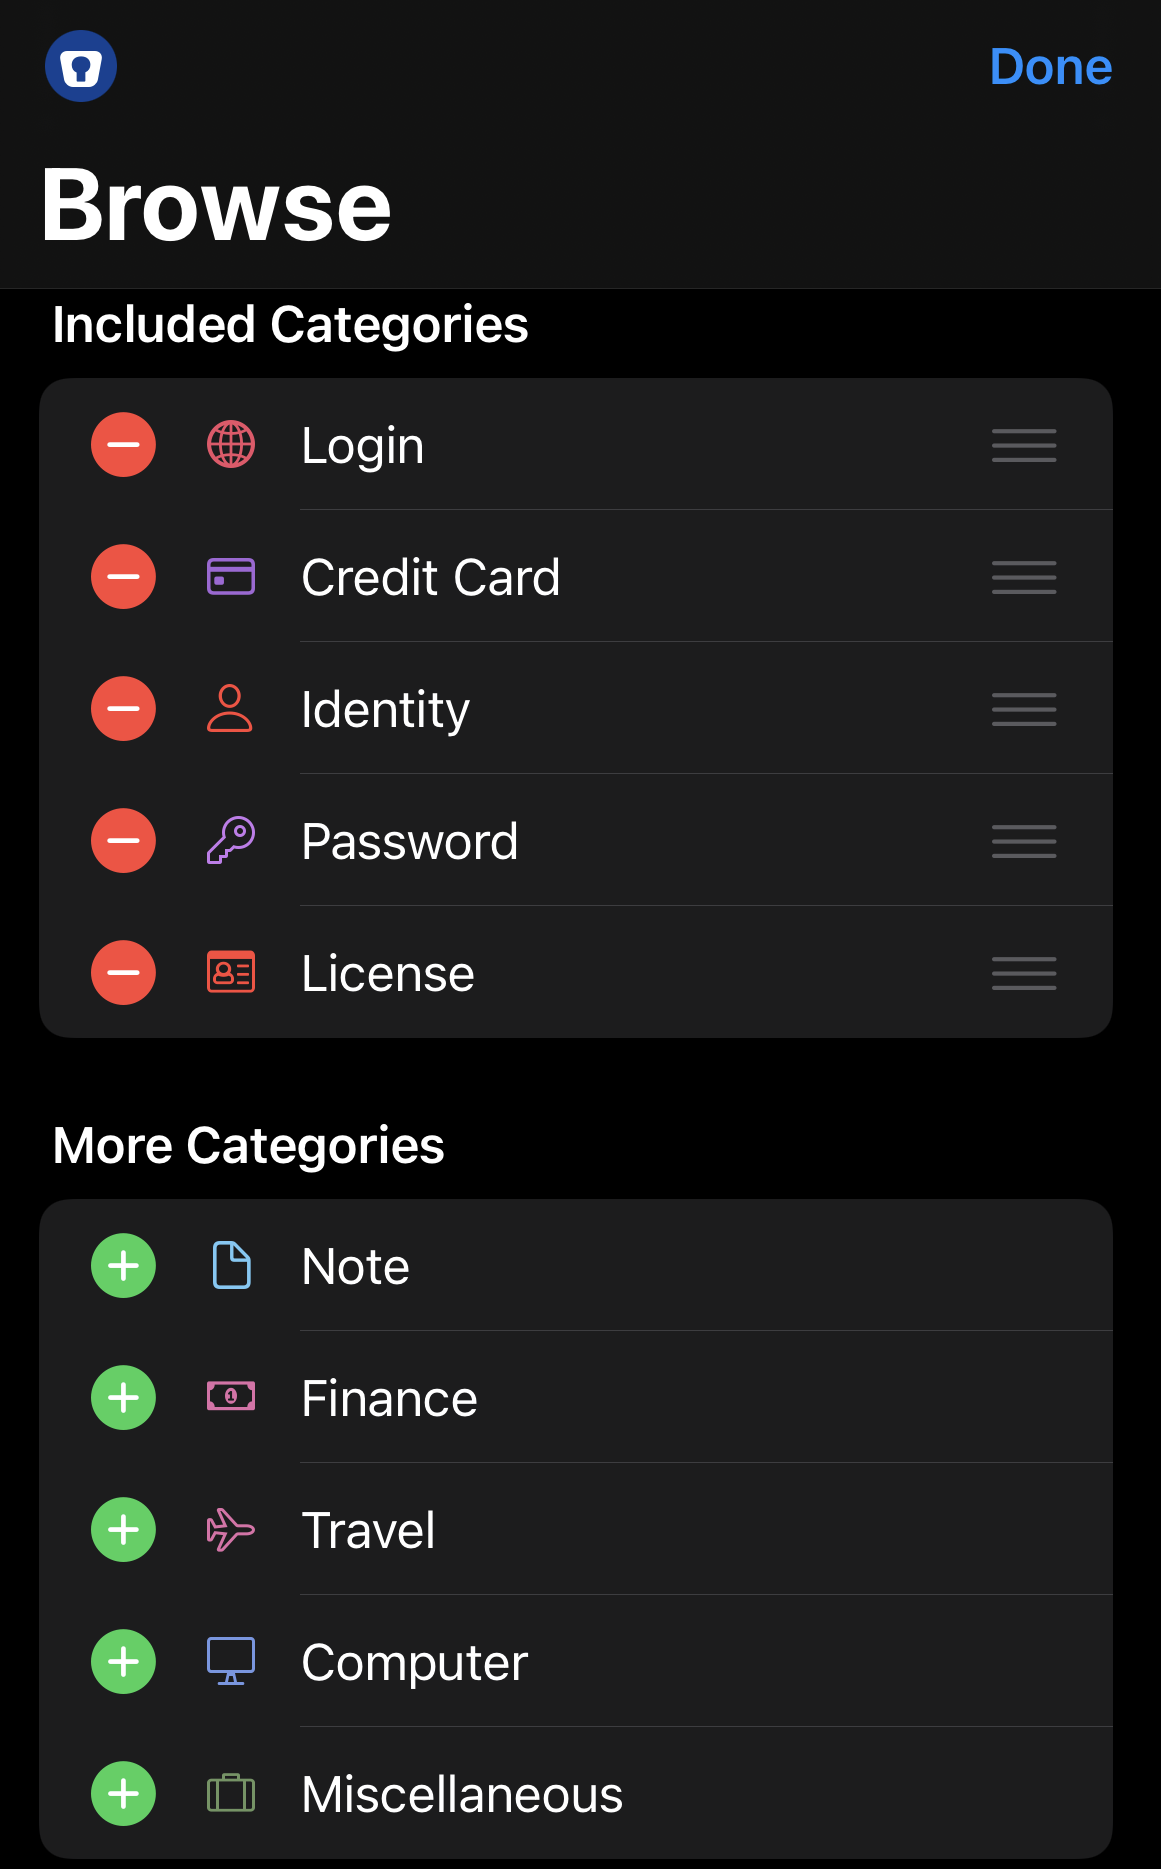
To show or hide available categories:
- Tap the Browse tab, then tap Edit in the top-right corner.
- Tap
 beside a category name to hide the category.
Tap to restore a previously hidden category.