Adding and managing users in the Enpass Admin Console
Administrators can add, remove, assign licenses, and deactivate users easily in the Enpass Admin Console, or automatically if your organization uses Microsoft Entra ID.
If you're looking to manage administrator roles, try this page
If you're looking to manage user permissions, try this page.
Automatically managing users via Microsoft Entra ID
For Enpass Business clients using Microsoft 365, user management can be handled via Entra ID.
Read more about provisioning via Entra ID
Managing users manually
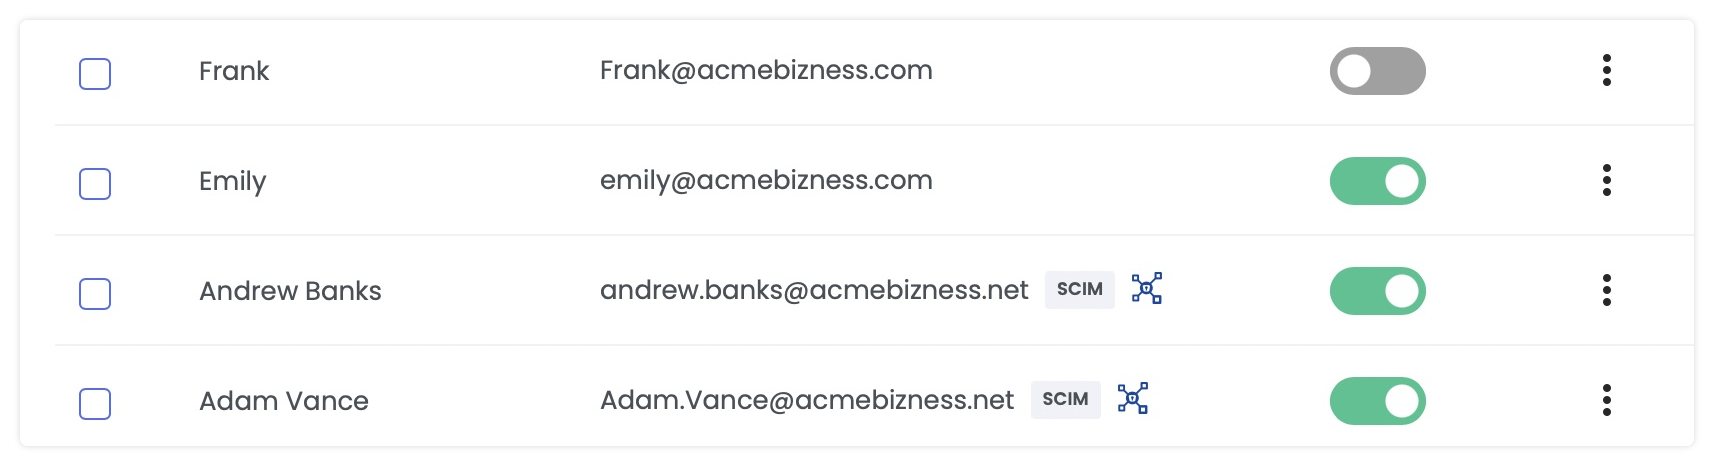
Admins can add and manage users from the Admin Console. The Users section shows all users in your organization. For each user, you can see:
- Name and email: (SCIM tag appears if provisioned automatically)
- Status: No License, Pending User Action, or Using Enpass
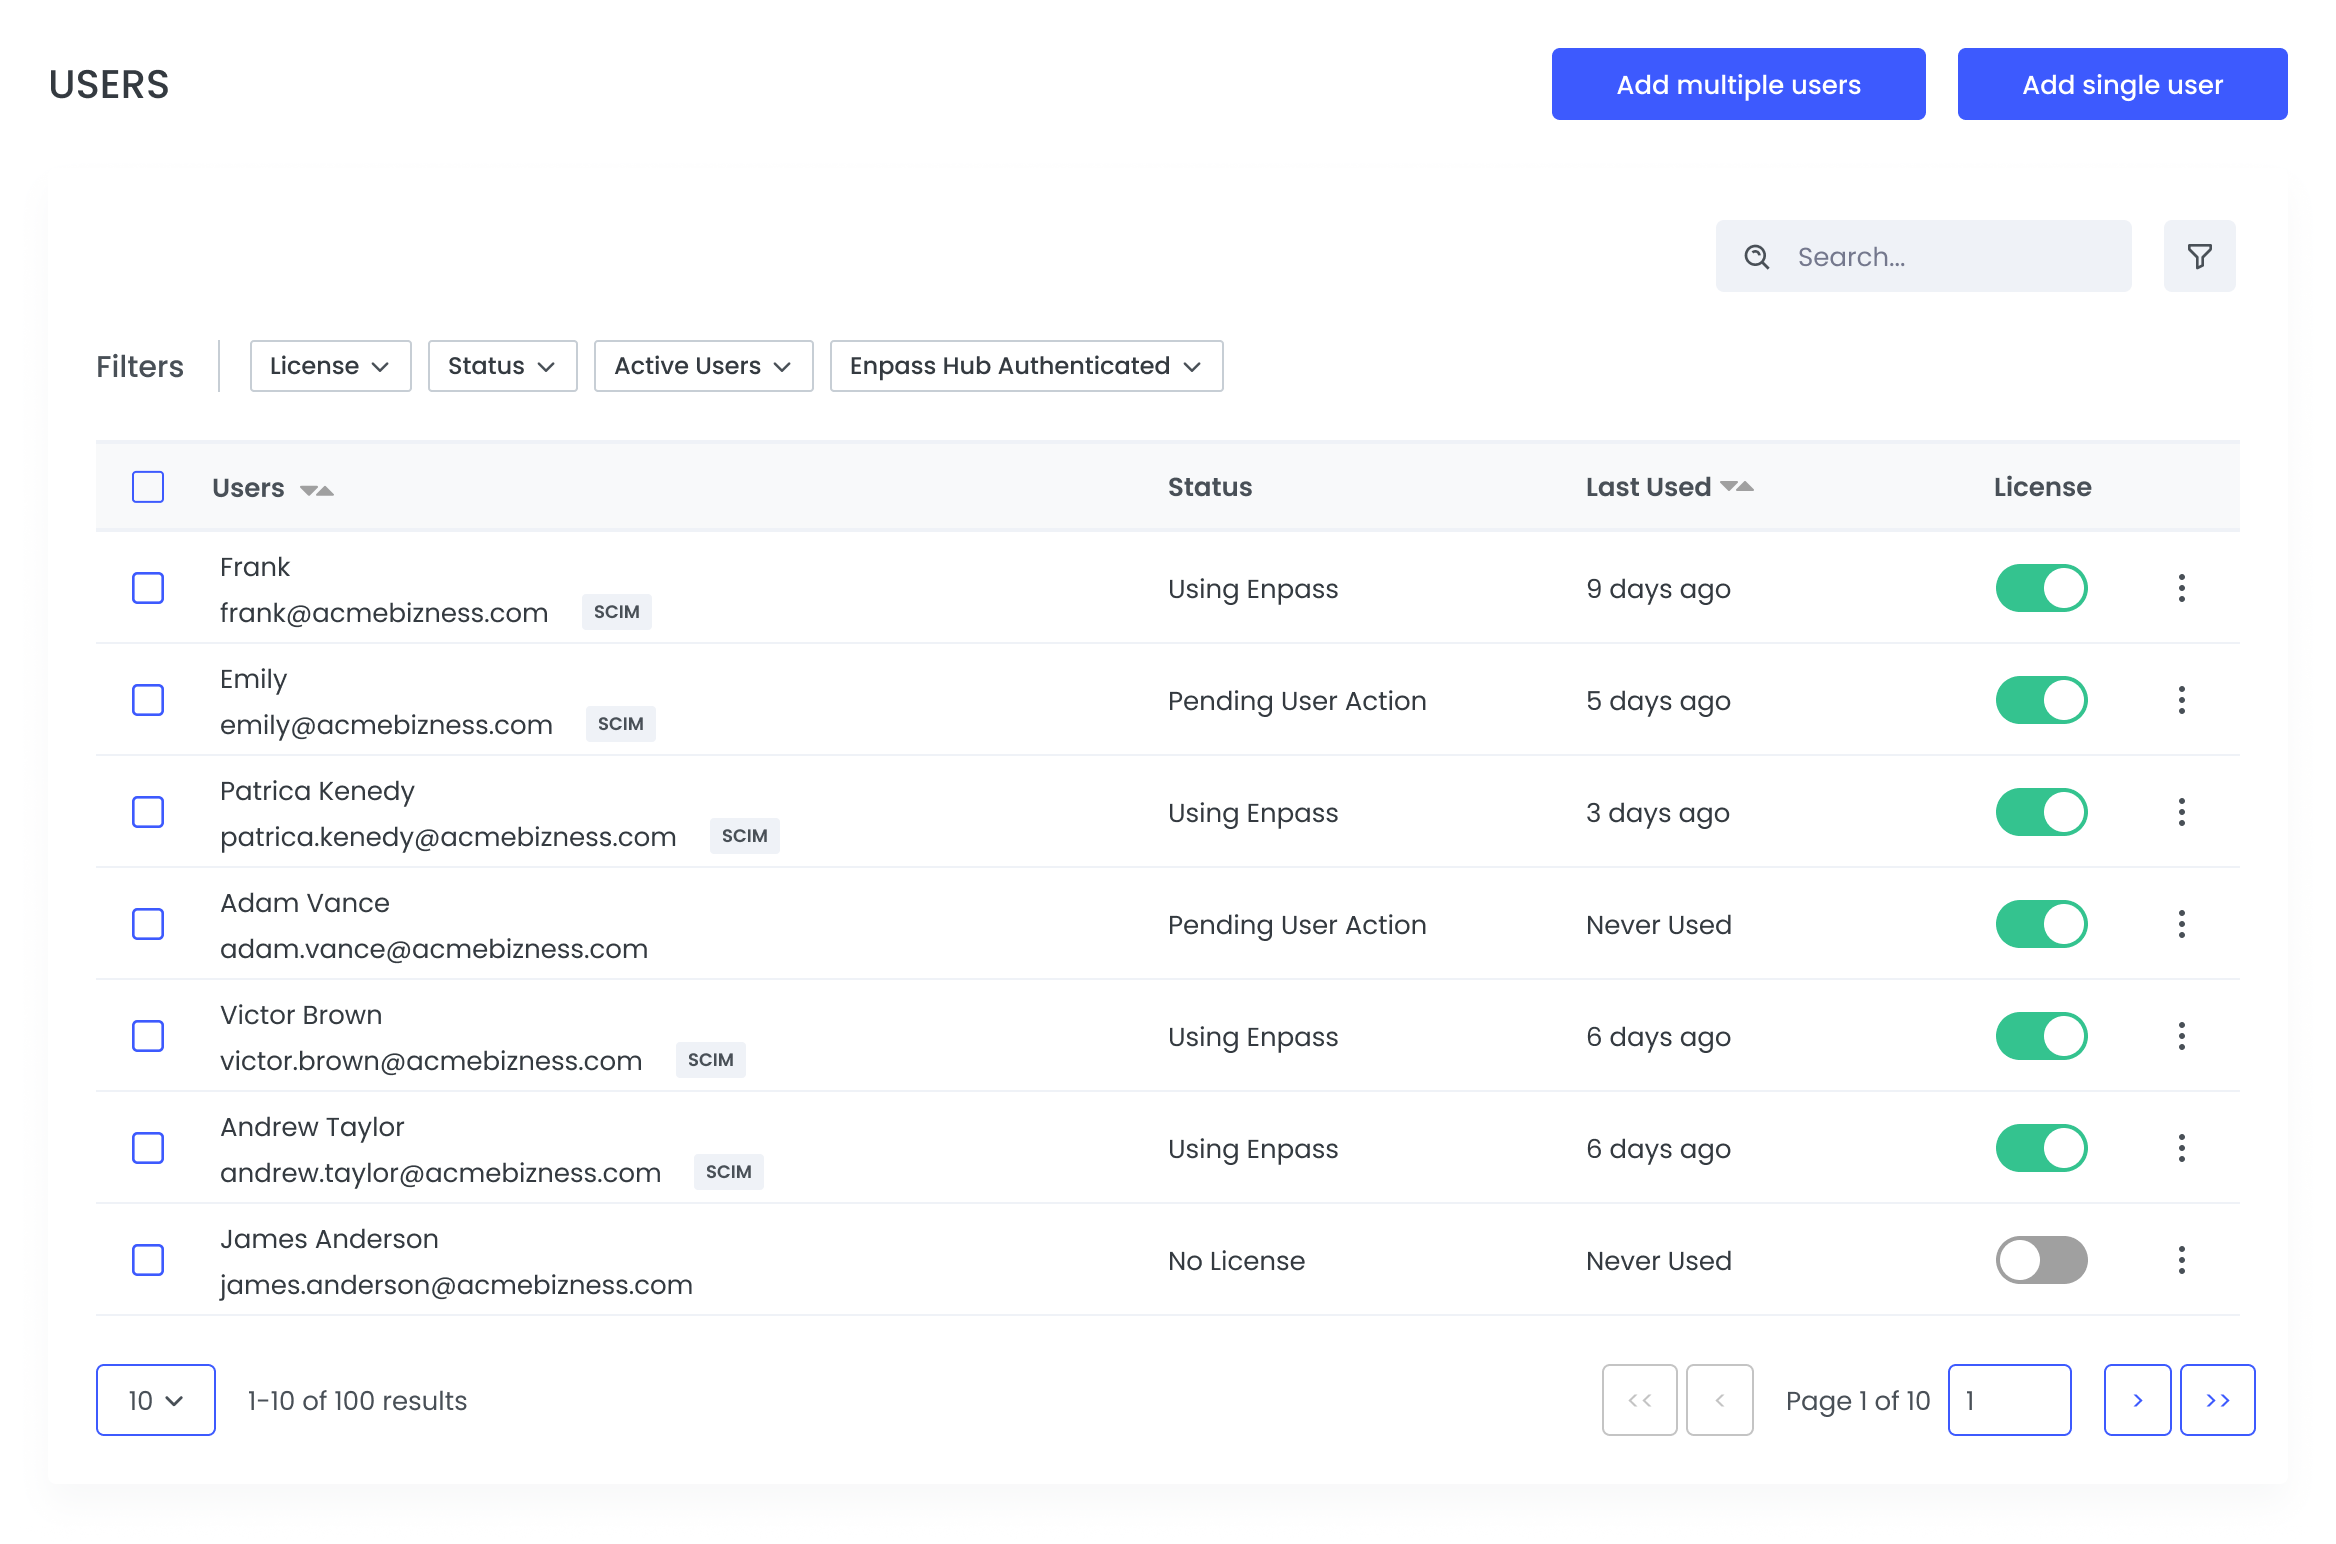
- Last Used: When they last accessed Enpass
- License: Toggle to assign or remove licenses
Click the three-dot menu (⋮) next to any user to edit or view details.
Finding users
Use the search bar and available filters to quickly locate users in your organization.
- Search by name or email address
- Filter by License, Status, or Active Users
- Filter by Enpass Hub Authenticated status
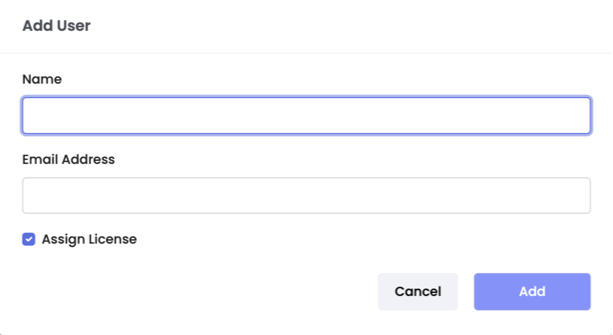
To add a user:
- Go to Users, and click the Add Single User button.
- Select the Assign License checkbox.
- Fill in the user details, and click the Add button.
To add multiple users:
- Create a CSV file of user's names and email addreses.
- Go to Users and click the Add Multiple Users button.
- Click the Browse button, then find and select your CSV file from your computer.
- Select the Assign License checkbox. Click the Add button.

To edit a user name:
- Go to Users, and search for the user you want to update.
- Click ⋮ to the right of the user’s information, and select Edit.

- Edit the name, and then click the Update Name button.
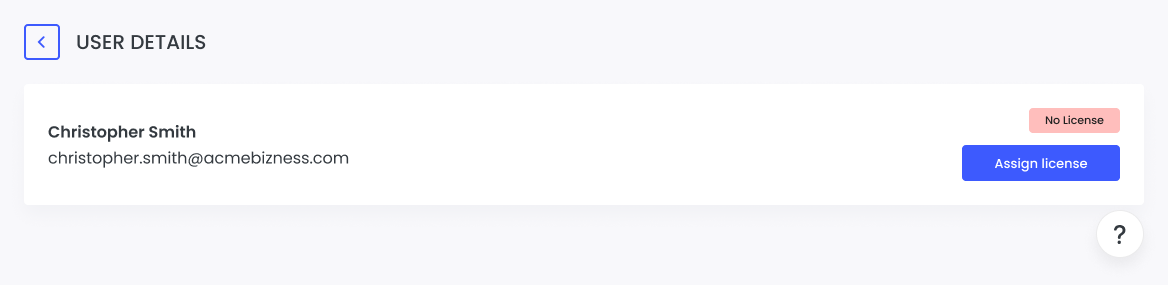
User Details
Click the three-dot menu (⋮) next to any user and select view details. The page content changes based on where the user is in their setup journey.
No License
You'll see a "No License" tag and an Assign License button to give them access.
Pending User Action
For users who haven't finished setting up, you'll see their progress if it is completed or still pending:
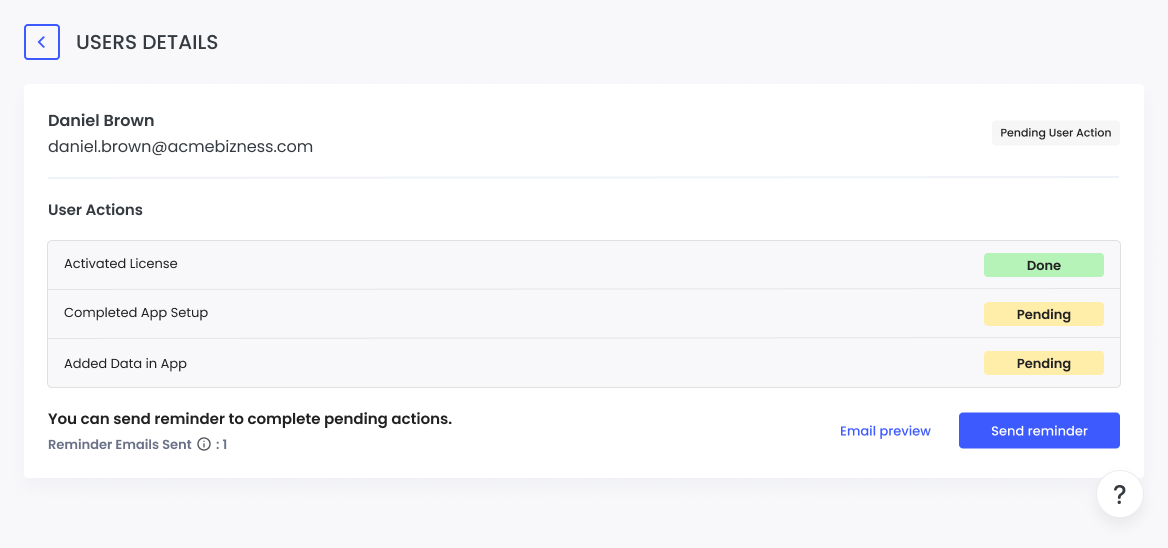
You can send reminder emails to help them complete setup:
- See how many reminder emails were sent
- Click Email preview to see what the reminder looks like
- Click Send reminder to send them a nudge
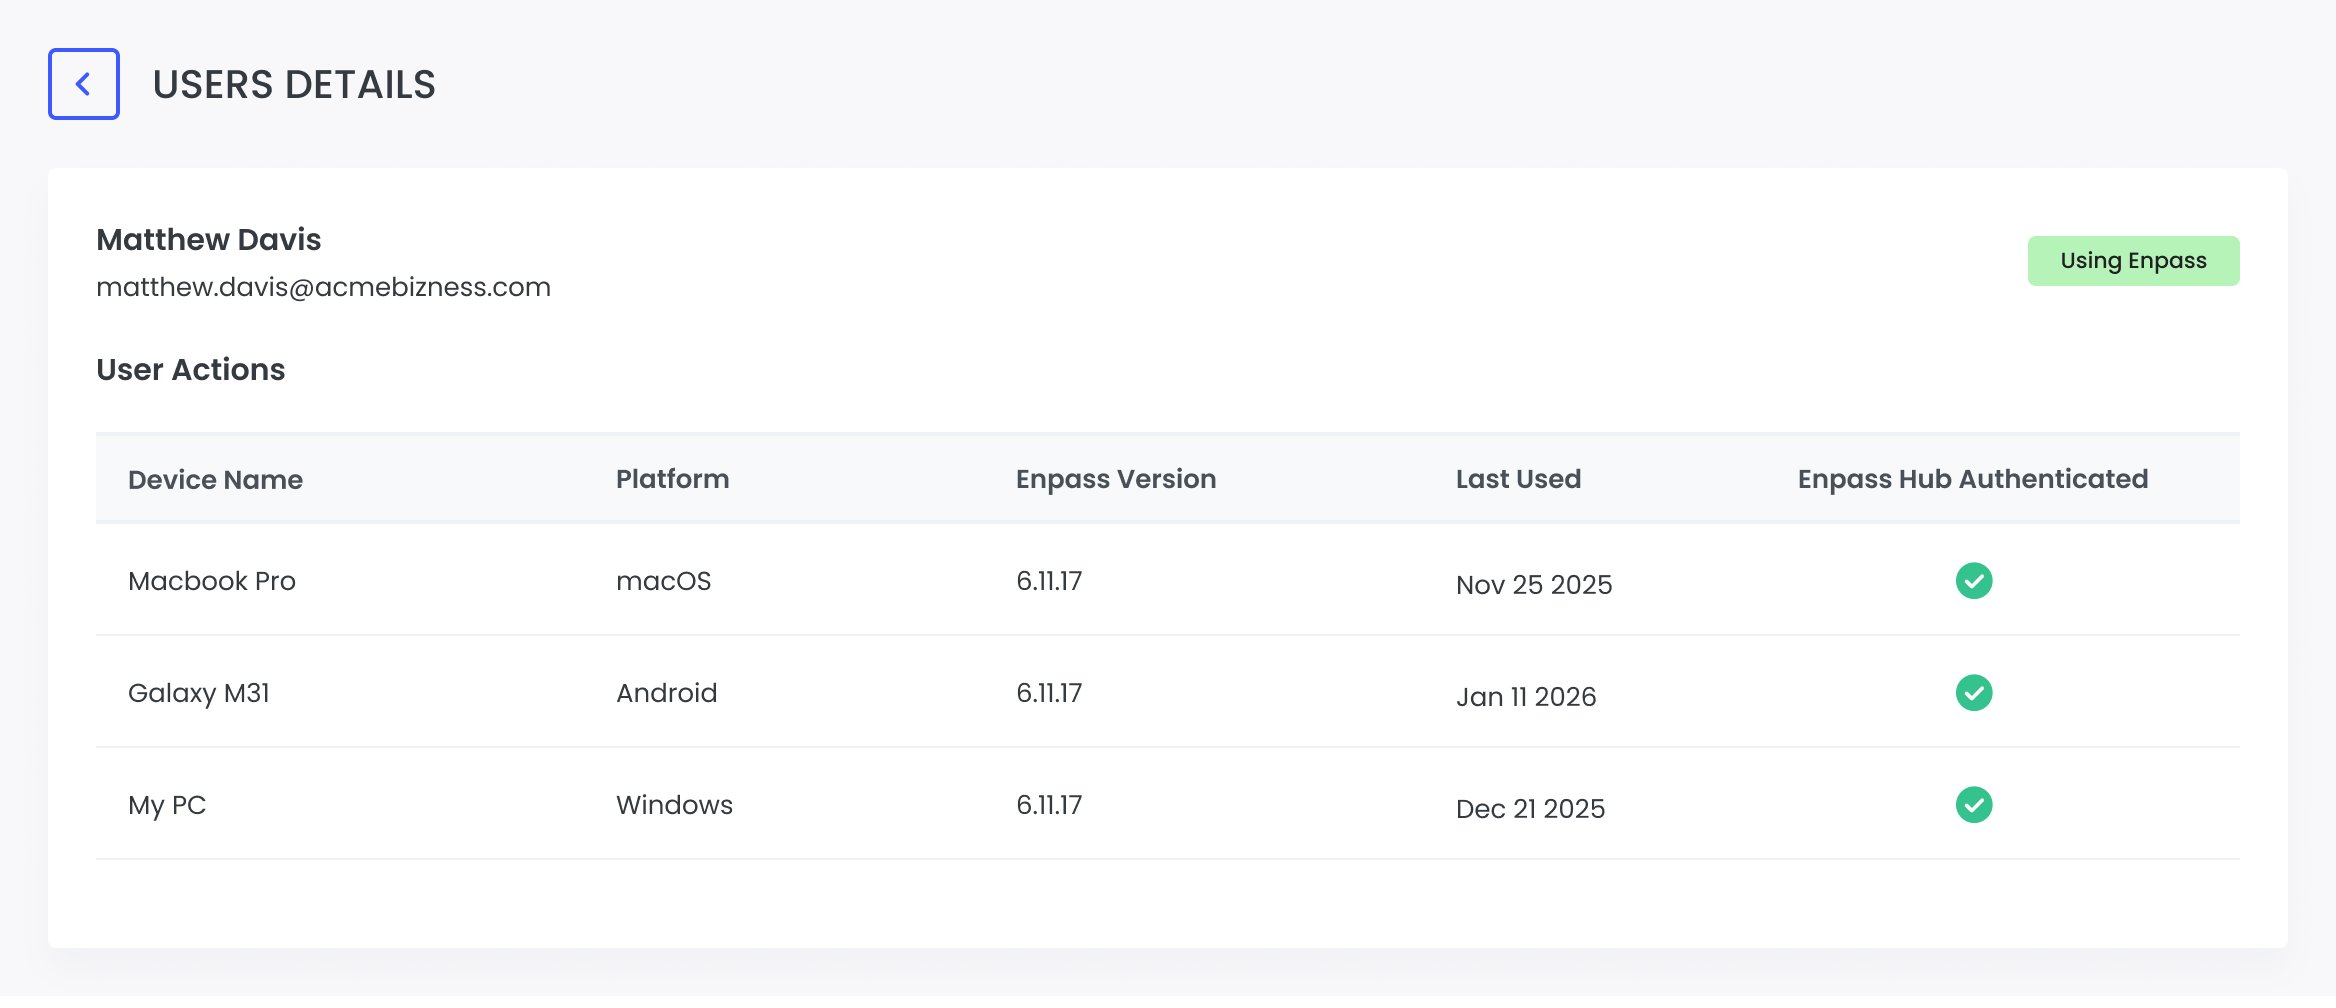
Using Enpass
For active users, you'll see their "Using Enpass" status and their connected devices.
User Devices
See all devices where the user has logged into Enpass:
To deactivate a user license:
- Go to Users, and search for the user you want to deactivate.
- Tun off the Active option to the right of the user's information.
- You will see a warning about the consequences of the user removal. Make sure that user have gone through proper handover and offboarding steps as per your company norms. Click Confirm.
Remove a user
To remove user:
- Search and find the user.
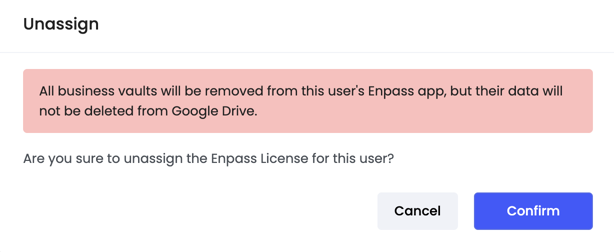
- Toggle off the license to unassign it from the user.
- If your organization is using Enpass Hub and the user is sharing vaults as a manager to other users in organization, you will see a warning about the consequences of the user removal. Make sure that user have gone through proper handover and offboarding steps as per your company norms. Click Confirm.
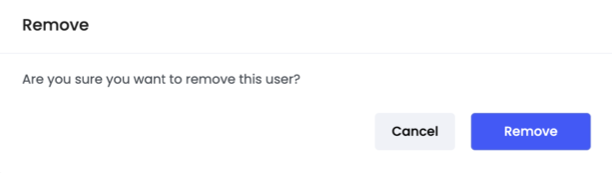
- Click ⋮ to the right of the user’s information, and select remove.
- On the final confirmation dialog, Click Remove.
Related topics
- Getting started with Enpass Admin Console
- Managing policies & user permissions
- Managing administrator roles
- Managing user groups