Admin Console settings in Enpass Business
In the Admin Console settings, you can manage Enpass Administrators, User Provisioning, add or change a company logo.
Admin Management
Add, edit, remove, or monitor the status of Console admins.
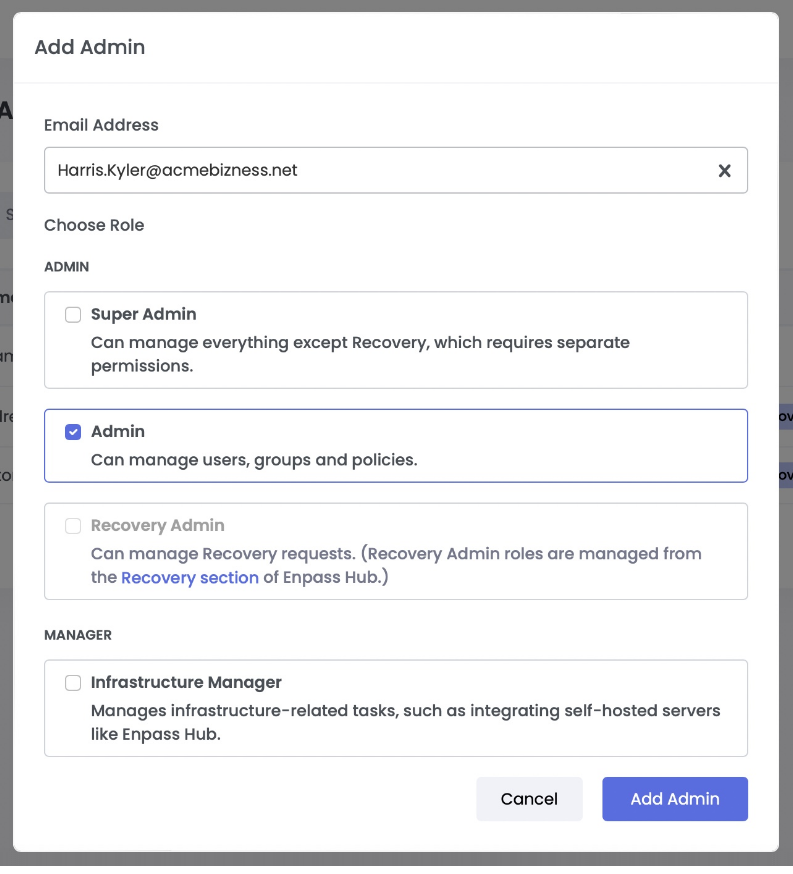
To add a user as an admin:
- In the Admin Console, click the User Menu in top-right corner, and select Settings.
- In the Admin Management section, click Add Admin.
- Enter the user's email address, choose their adminstrator role, and click Add Admin.
To edit or remove an admin:
- Click ⋮ next to the Admin you want to change, and select Edit or Remove.
Organization Branding
Add your organization's logo, to be displayed in Enpass on all user devices alongside license details.
To upload a logo for branding:
- In the Admin Console, click the User Menu in top-right corner, and select Settings.
- In the Organization Branding section, read the Logo Requirements.
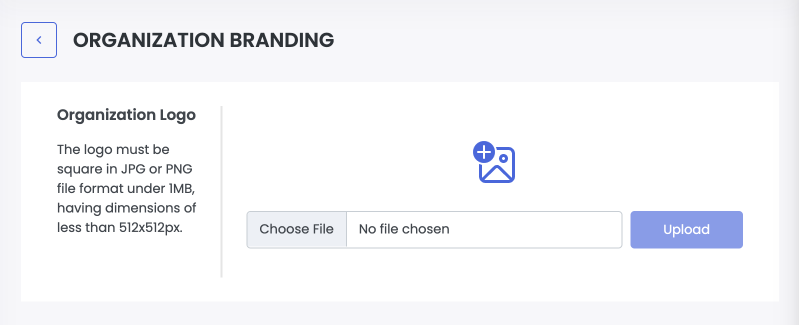
- Choose an image file and click Upload.
Single Sign-On
By connecting your Identity Provider with Enpass, you can enable SSO login for admin users in your organization. Learn More.

User Provisioning
To manage user provisioning through SCIM, see Creating new SCIM connector credentials in the Enpass Business Admin Console.
Feature Management
Enables centralized control of advanced Enpass features like Security Audit, Access Recovery, Vault Sharing, and Event Logs.
Feature Management in the Enpass Business Admin Console.
SIEM (Event Logs)
Enpass captures key user activity events and integrates with SIEM tools to help organizations monitor, analyze, and respond to potential security risks.
Event Logs (SIEM) in the Enpass Business Admin Console.
Enpass Family Plan
Enpass provides enterprise plan users with a complimentary Friends & Family Plan, allowing them to share premium password security with up to five family members at no extra cost.
Enpass Family Plan in the Enpass Business Admin Console.