Integrating the Enpass Hub with your Enpass Admin Console
If you’re setting up a Self-Hosted Enpass Hub for the first time, this process is step 4 of 8.
Having configured and deployed the Enpass Hub server, you can now integrate your Enpass Hub with your Enpass Admin Console.
To integrate Enpass Hub with your Admin Console:
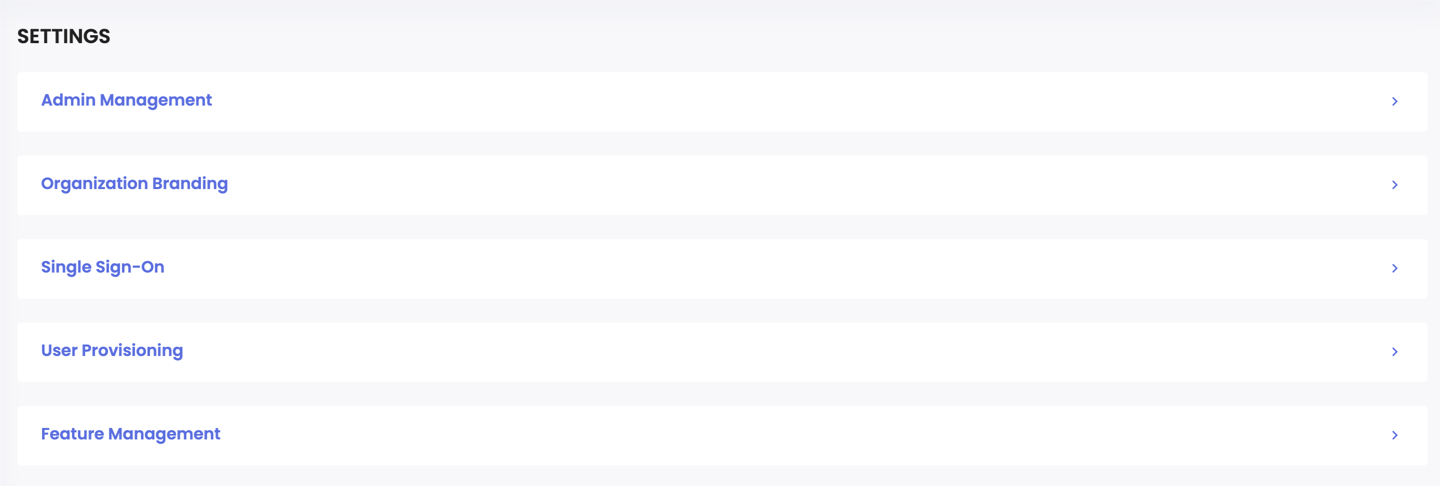
- In your Enpass Admin Console, go to Settings > Feature Management.
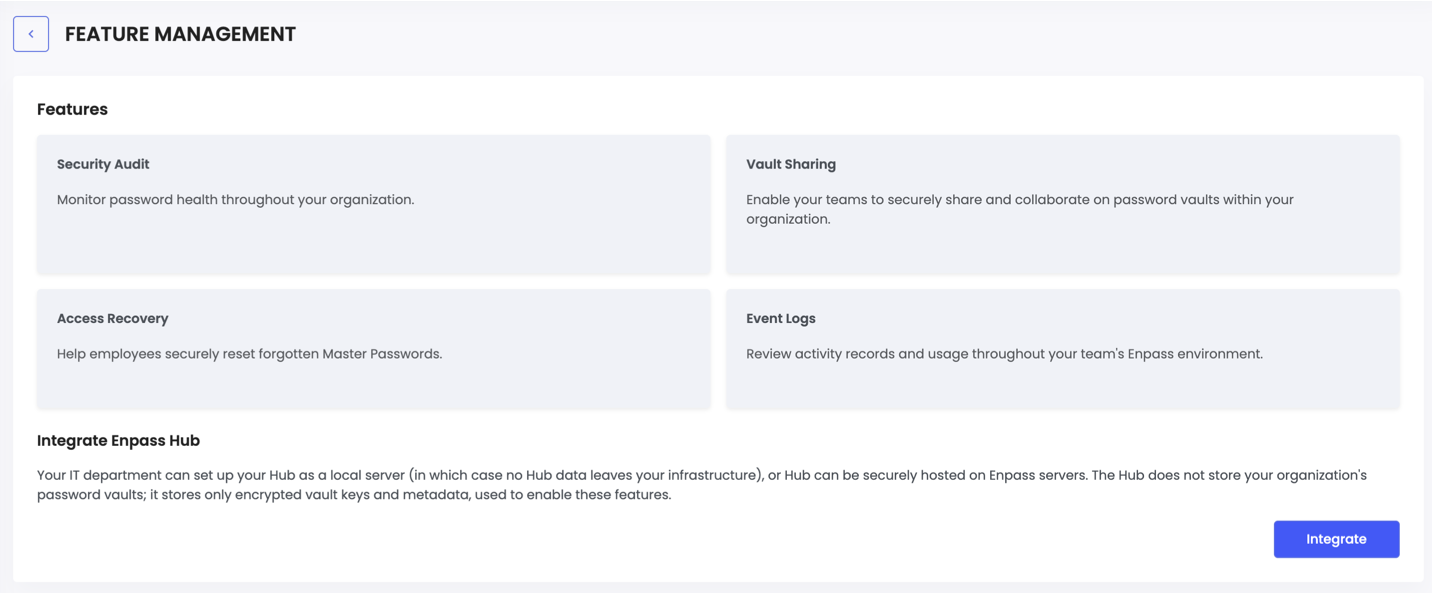
- Click Integrate.
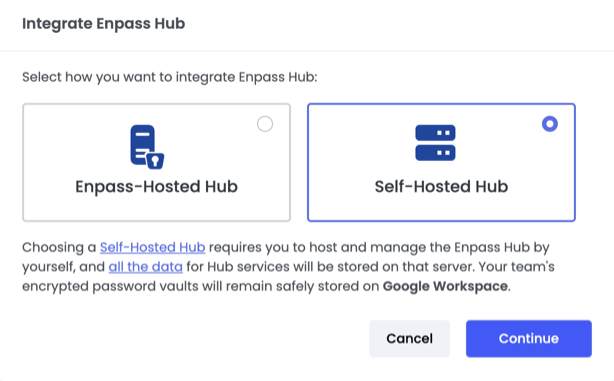
- Select Self-Hosted Hub, and click Continue.
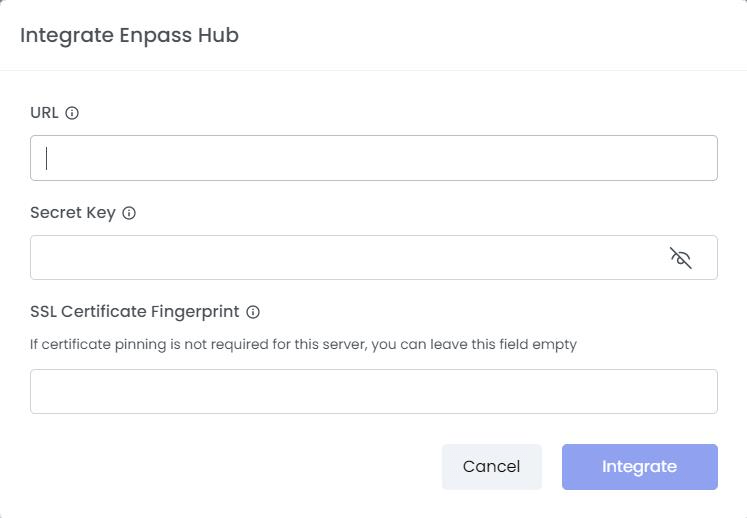
- Provide the URL and security information for the server, and click Integrate.
- Once Hub integration is complete, you will be automatically logged out.
- Login again and return to Admin Console > Settings > Feature Management.
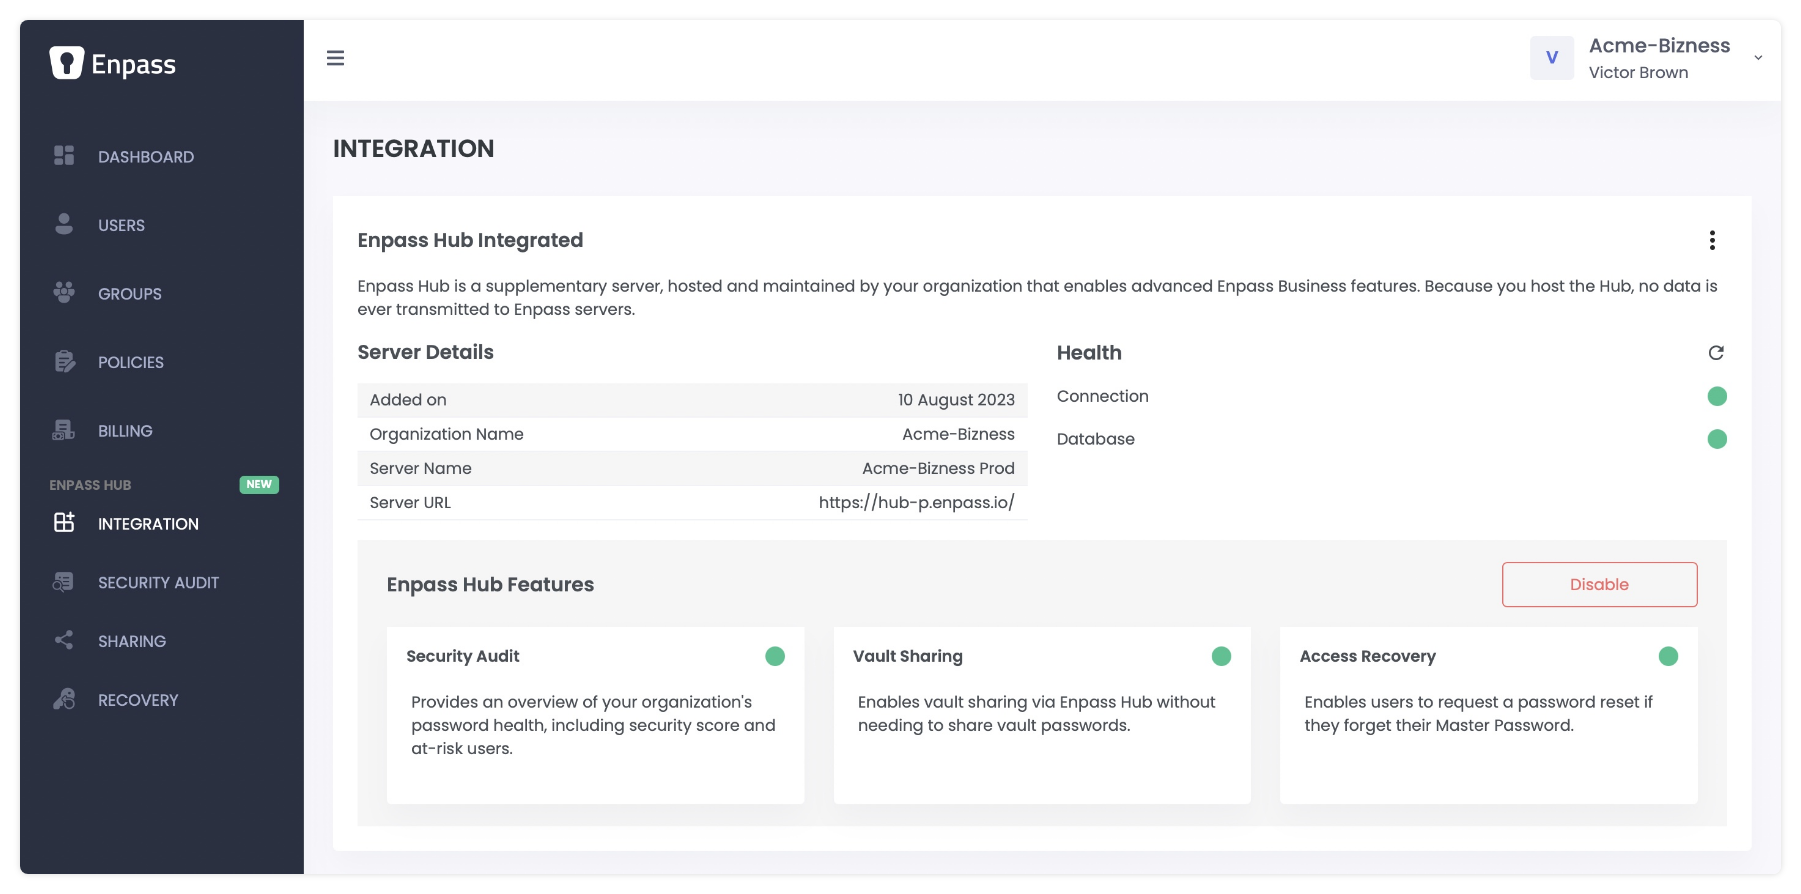
- Now that your Hub is connected...
- Under Server Details, you will see a description of your server
- Under Health, you will see green status indicators for Connection and Database
- Under Enpass Hub Features, you will see green status indicators for Security Audit, Vault Sharing, and Event Logs.
- Access Recovery status will show as pending until configured (see Step 7 below)
IMPORTANT: Once your Enpass Hub is integrated, every Enpass user in your organization will be prompted to authenticate their Enpass app against your Hub. Once authenticated, users will have access to Streamlined Vault Sharing and Access Recovery, and their vaults will be part of the Security Audit in your Enpass Admin Console. To see which users have connected to your Enpass Hub, go to Admin Console > Users, and change the filter above the user list from "All" to "Authenticated."
Next Steps
Now that you have Enpass Hub and Enpass Admin Console are connected, the next step is authenticating your own Enpass app with the Hub:
-
Step 1: Setting up a Linux server to be your Enpass Hub -
Step 2: Creating a Server Administrator for your Enpass Hub -
Step 3: Creating an Organization Connector -
Step 4: Integrating the Enpass Hub with your Enpass Admin Console - Step 5: Enable Security Audit and Secure Vault Sharing
- Step 6: Authenticating your Enpass app with the Enpass Hub
- Step 7: Enabling Access Recovery in the Enpass Admin Console
- Step 8: Adding and managing Recovery Admins in Enpass Admin Console