Tags
Tags allow you to manage your data in a more organized and convenient way.
Tagging items
The following steps will guide you to add tags to your items.
From Edit page
Edit the item and scroll down where you can see the Tags field. Add the tag name in the tags field and hit enter. This way you can also add multiple tags to the same item. Once done adding the tags, you can save the item to pertain the changes.
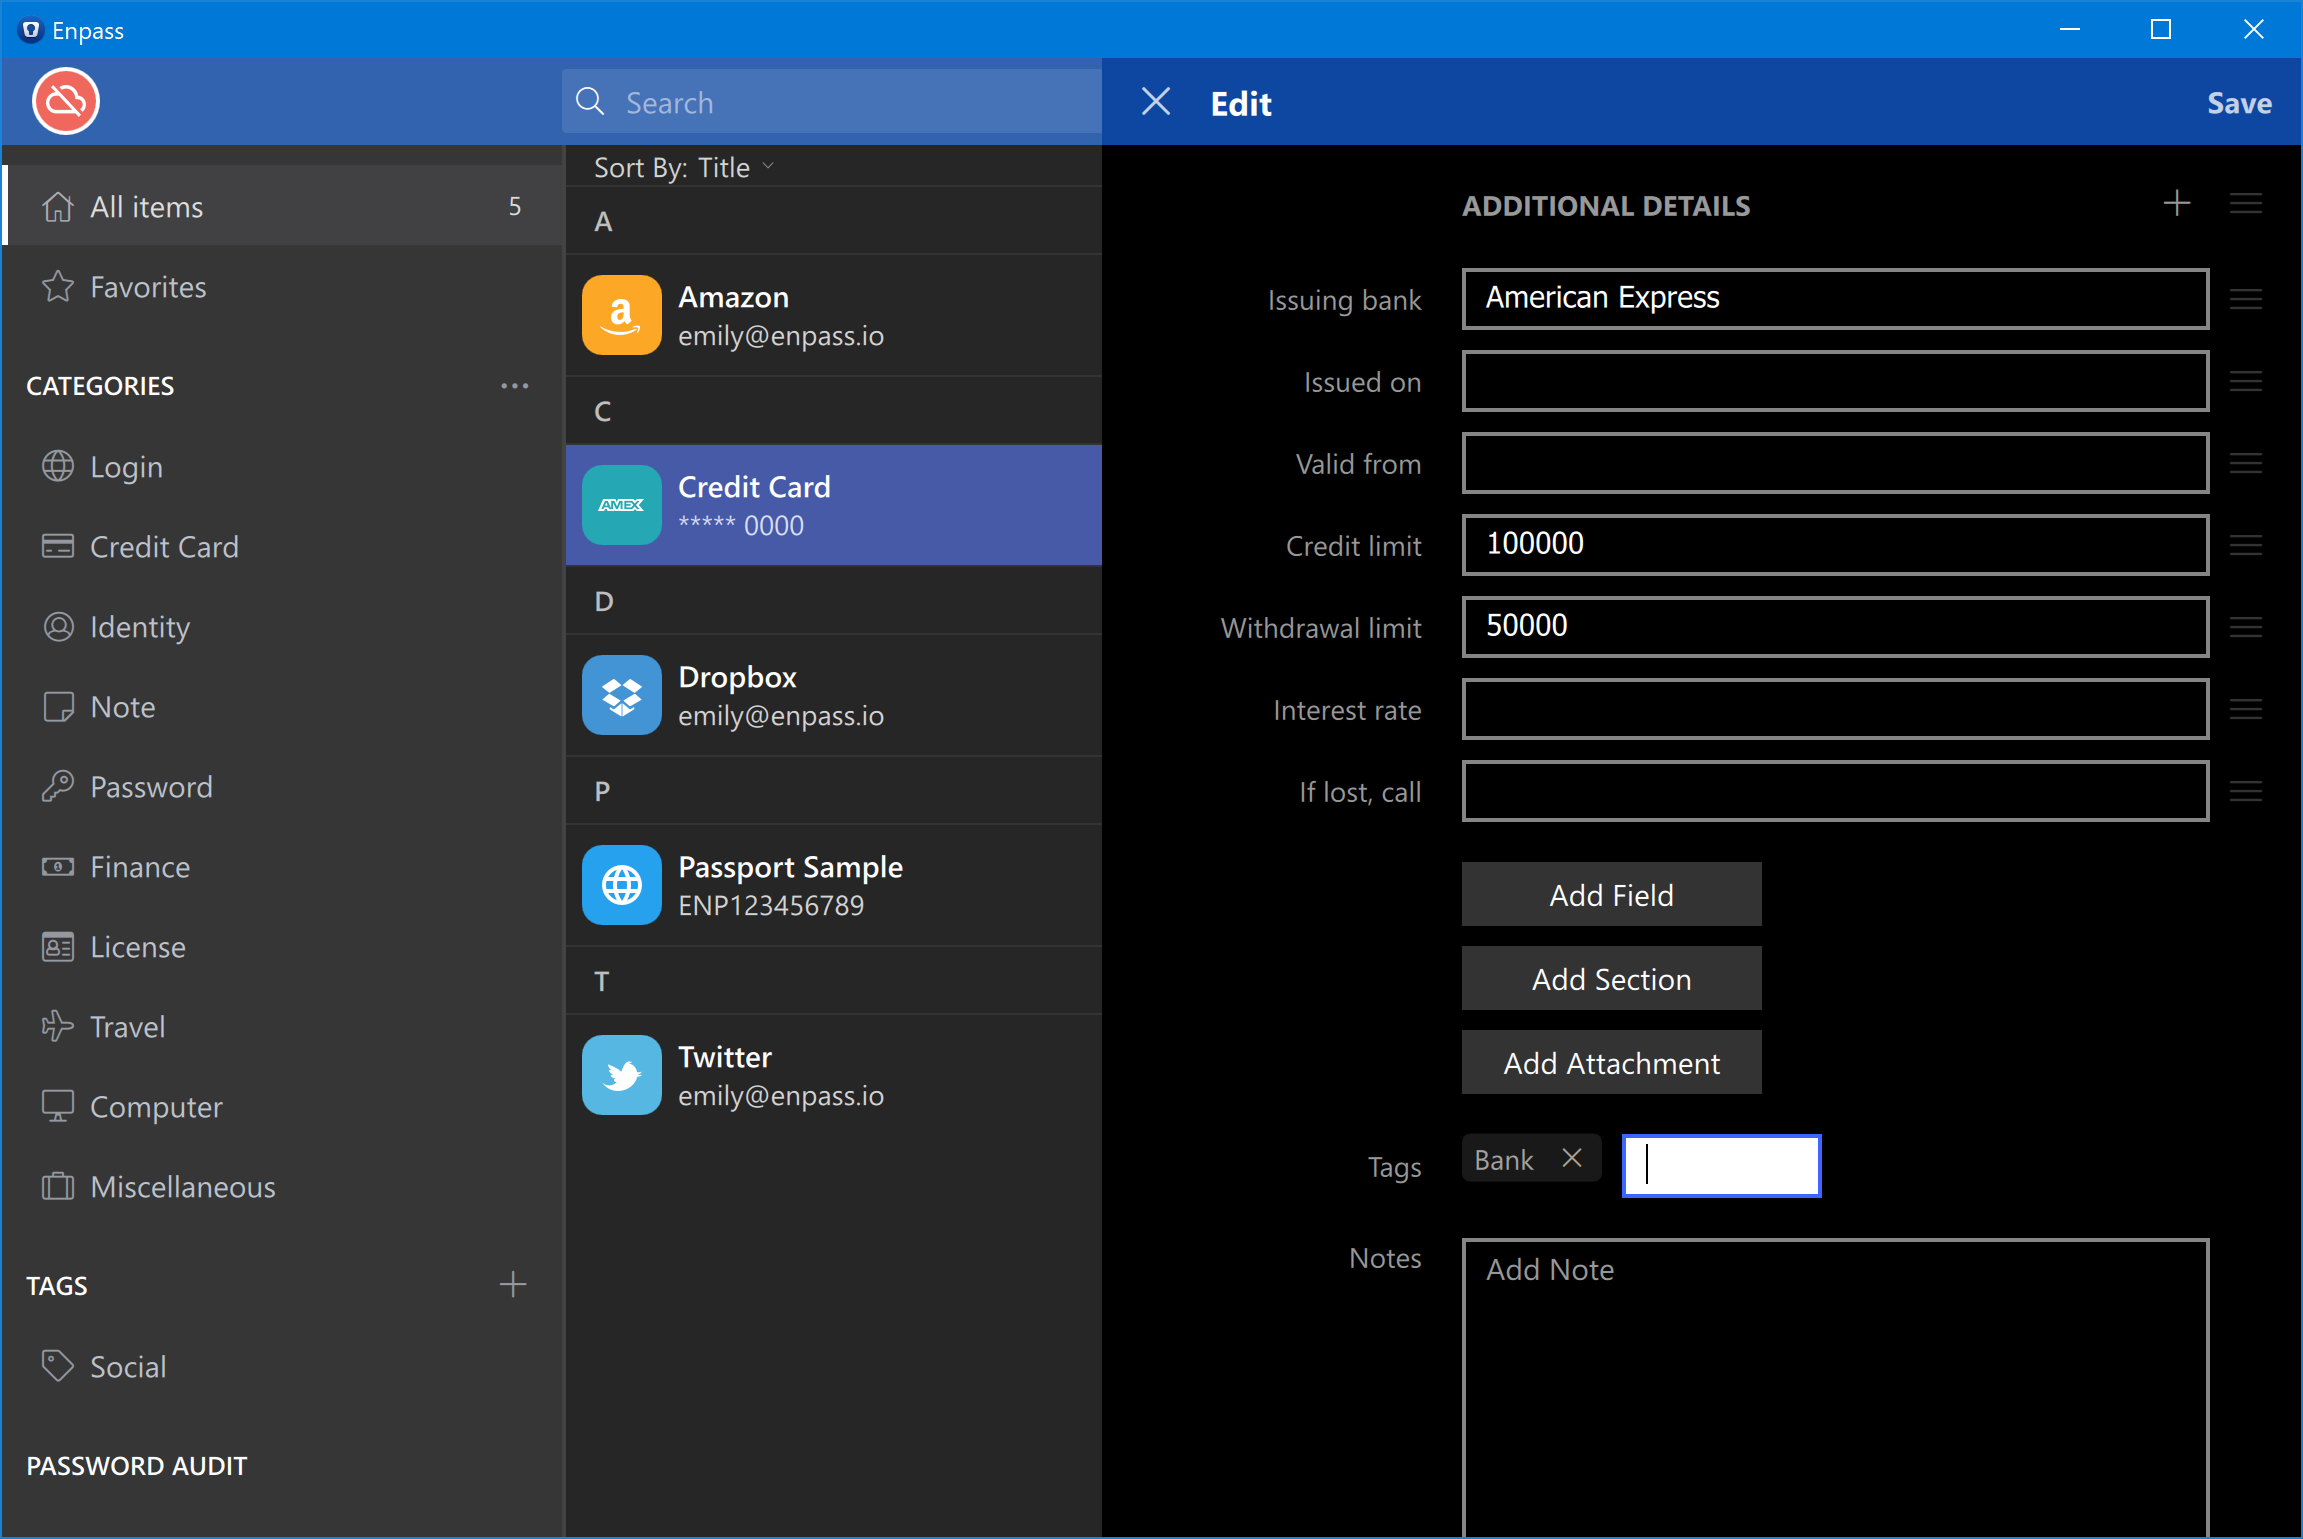
- You can also add tags in a hierarchy using the following pattern- Tag:Subtag:Subsubtag.
Note
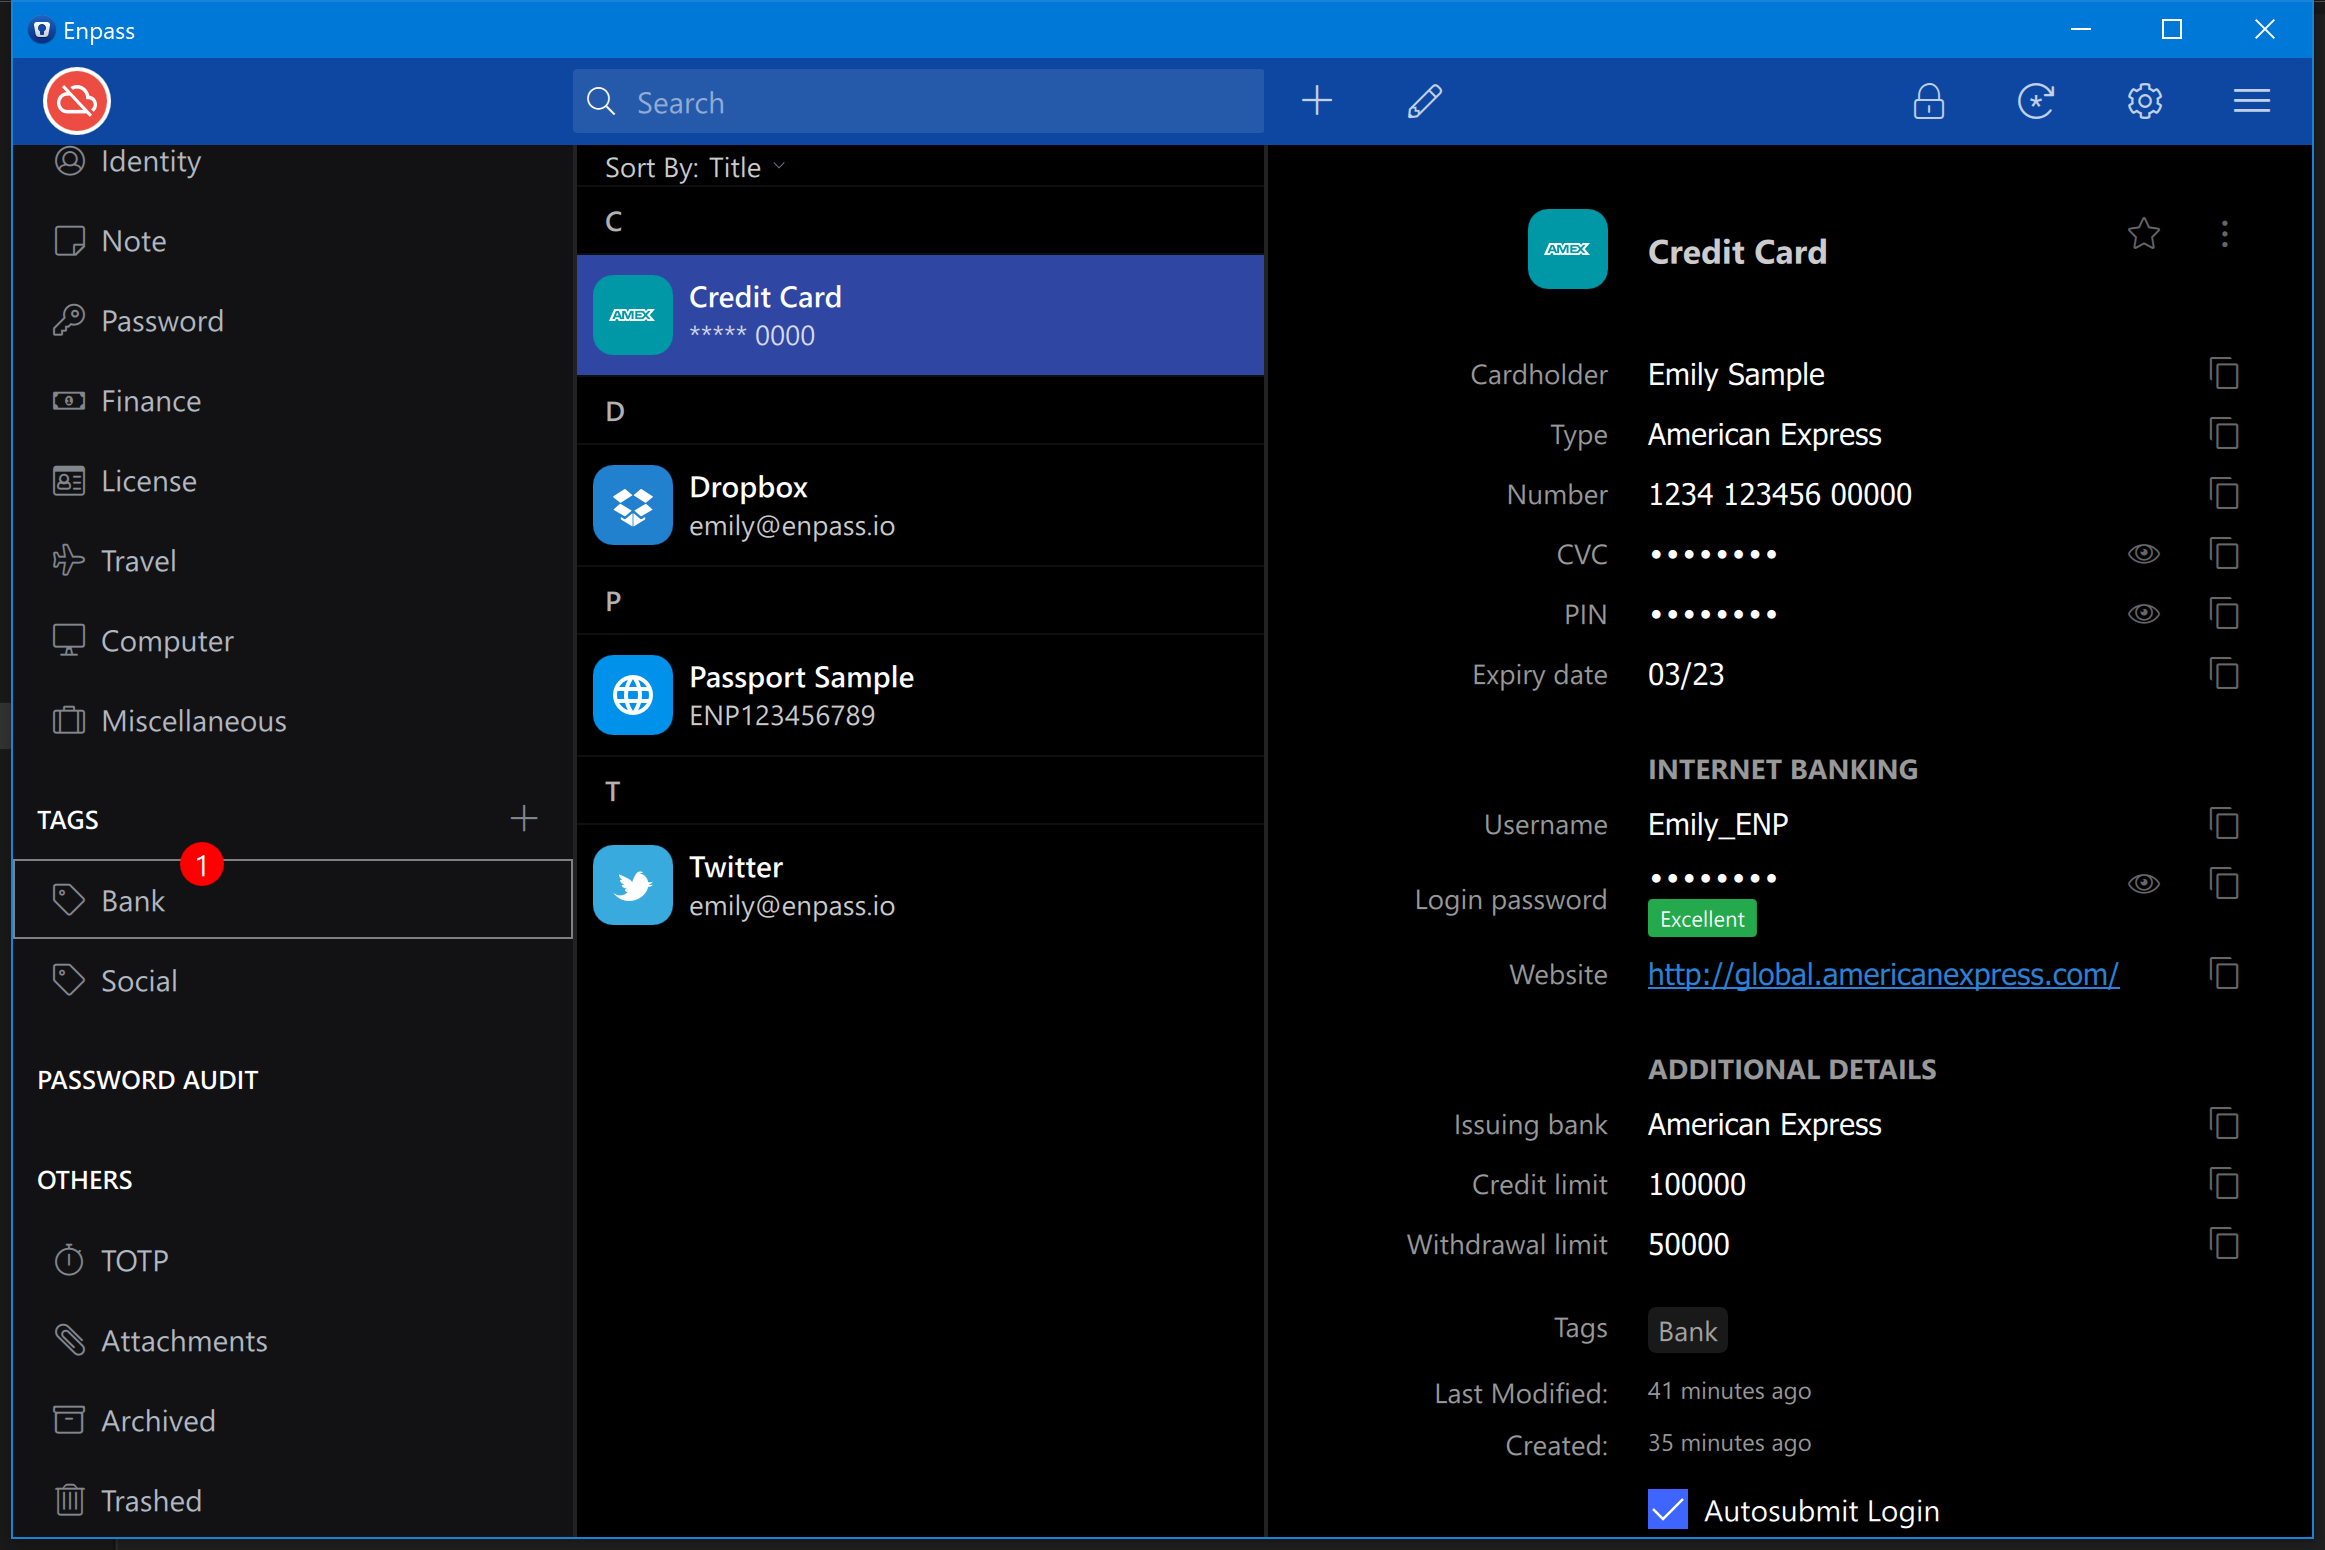
You can quickly access all the tags saved in Enpass from the sidebar. Just select Tags from the sidebar, and you’ll be presented with the list of all the existing tags in Enpass.
From Sidebar
You can also create tags from tag-listing in the sidebar and then manage items.
Add existing Items under a tag: Select any item from the All Items list or any Category, drag and drop the selected item to the tag where you want to add the item.
Sub-Tags
You can add the sub-tags in an existing tag in Enpass. To add a sub-tag, Right-click on the Tag name from the sidebar. Select Create Subtag → Add tag name and save. This way you can create tags in the hierarchy, you want.
Edit Tag
Select Tags from the sidebar. Right click on the Tag and select the relevant option to edit the item from the context menu. The same way you can Rename, Change Icon, or Delete the tag.
Untag an Item
To untag an item, Select Tags from the sidebar → Click on the tag → Select the item → Right-click on the item and select Untag.