Working with vaults
This page discusses the vault specific settings of Enpass.
Creating Vaults
To create a new vault: 1. Go to Settings → Vaults → Click the + button. 2. Add the vault name. 3. Click Create New > Enter the vault password and click Continue. 4. Verify the vault password on next page.
Optionally you may choose to save this vault password as an item in the Primary vault.
- Click Continue.
Note
You can also use a keyfile along with master password to add a second factor in unlocking Enpass. See keyfiles.
The following settings appear in the vault settings after you have created a secondary ault.
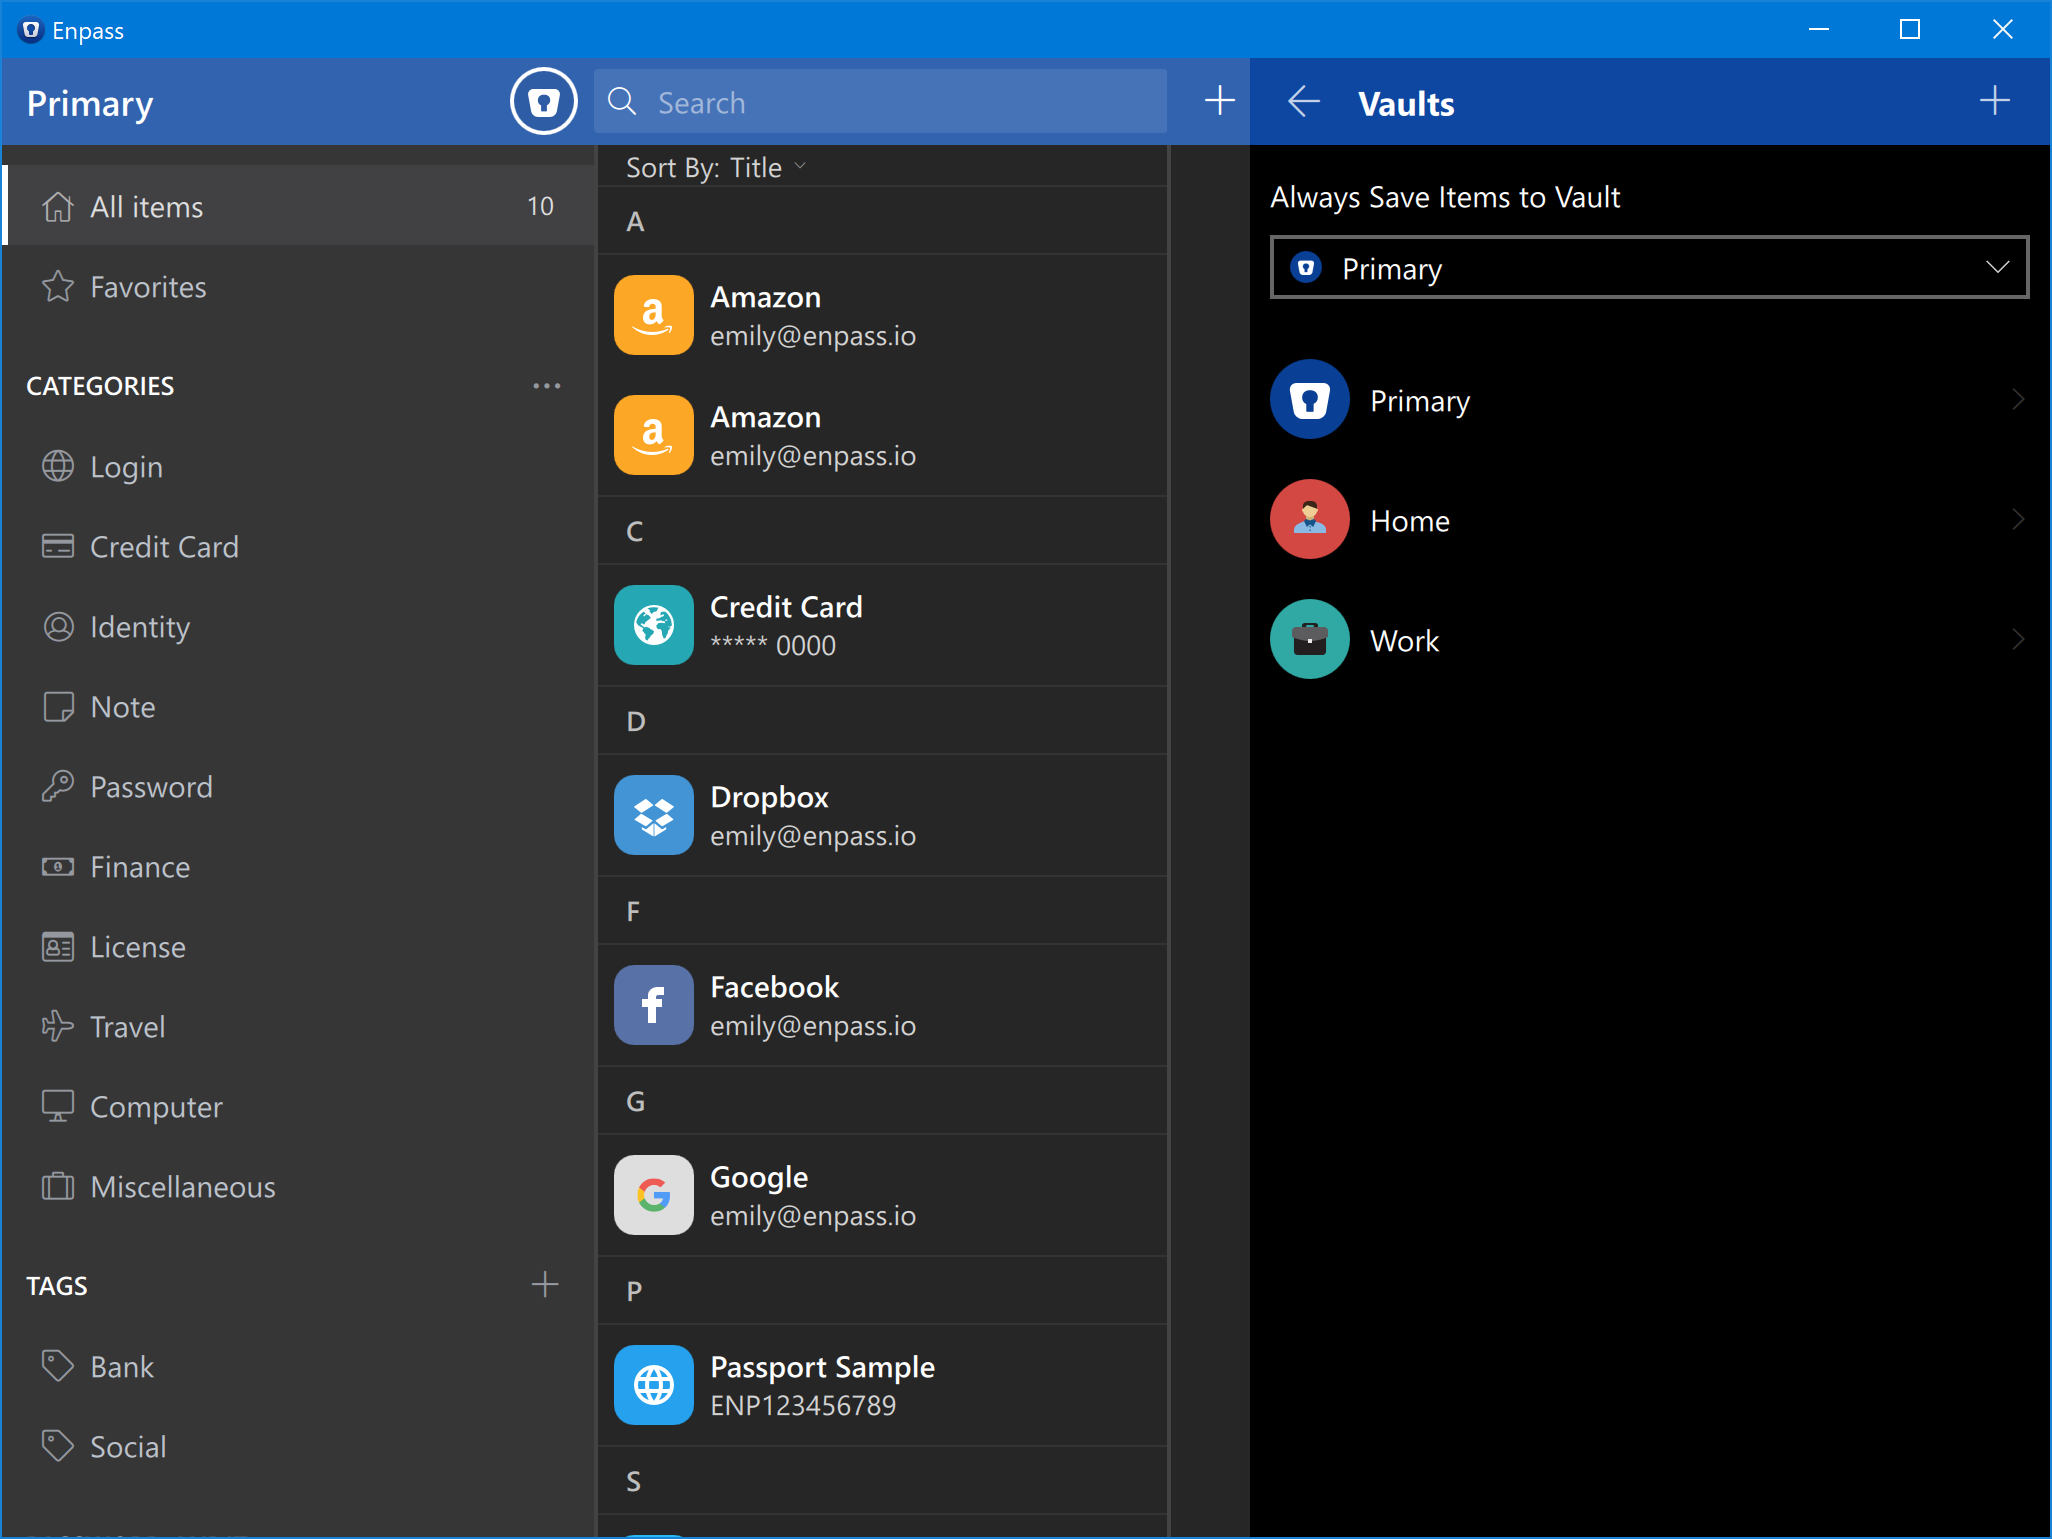
Always Save Items to Vault
This setting will only appear if you’ve multiple vaults in Enpass. The vault you select here will be used by default to save every new item you create in Enpass. The option to choose vault will also be provided to you while creating the item.
In the Enpass settings go to Vaults → Always Save Items to Vault → Select vault and done.
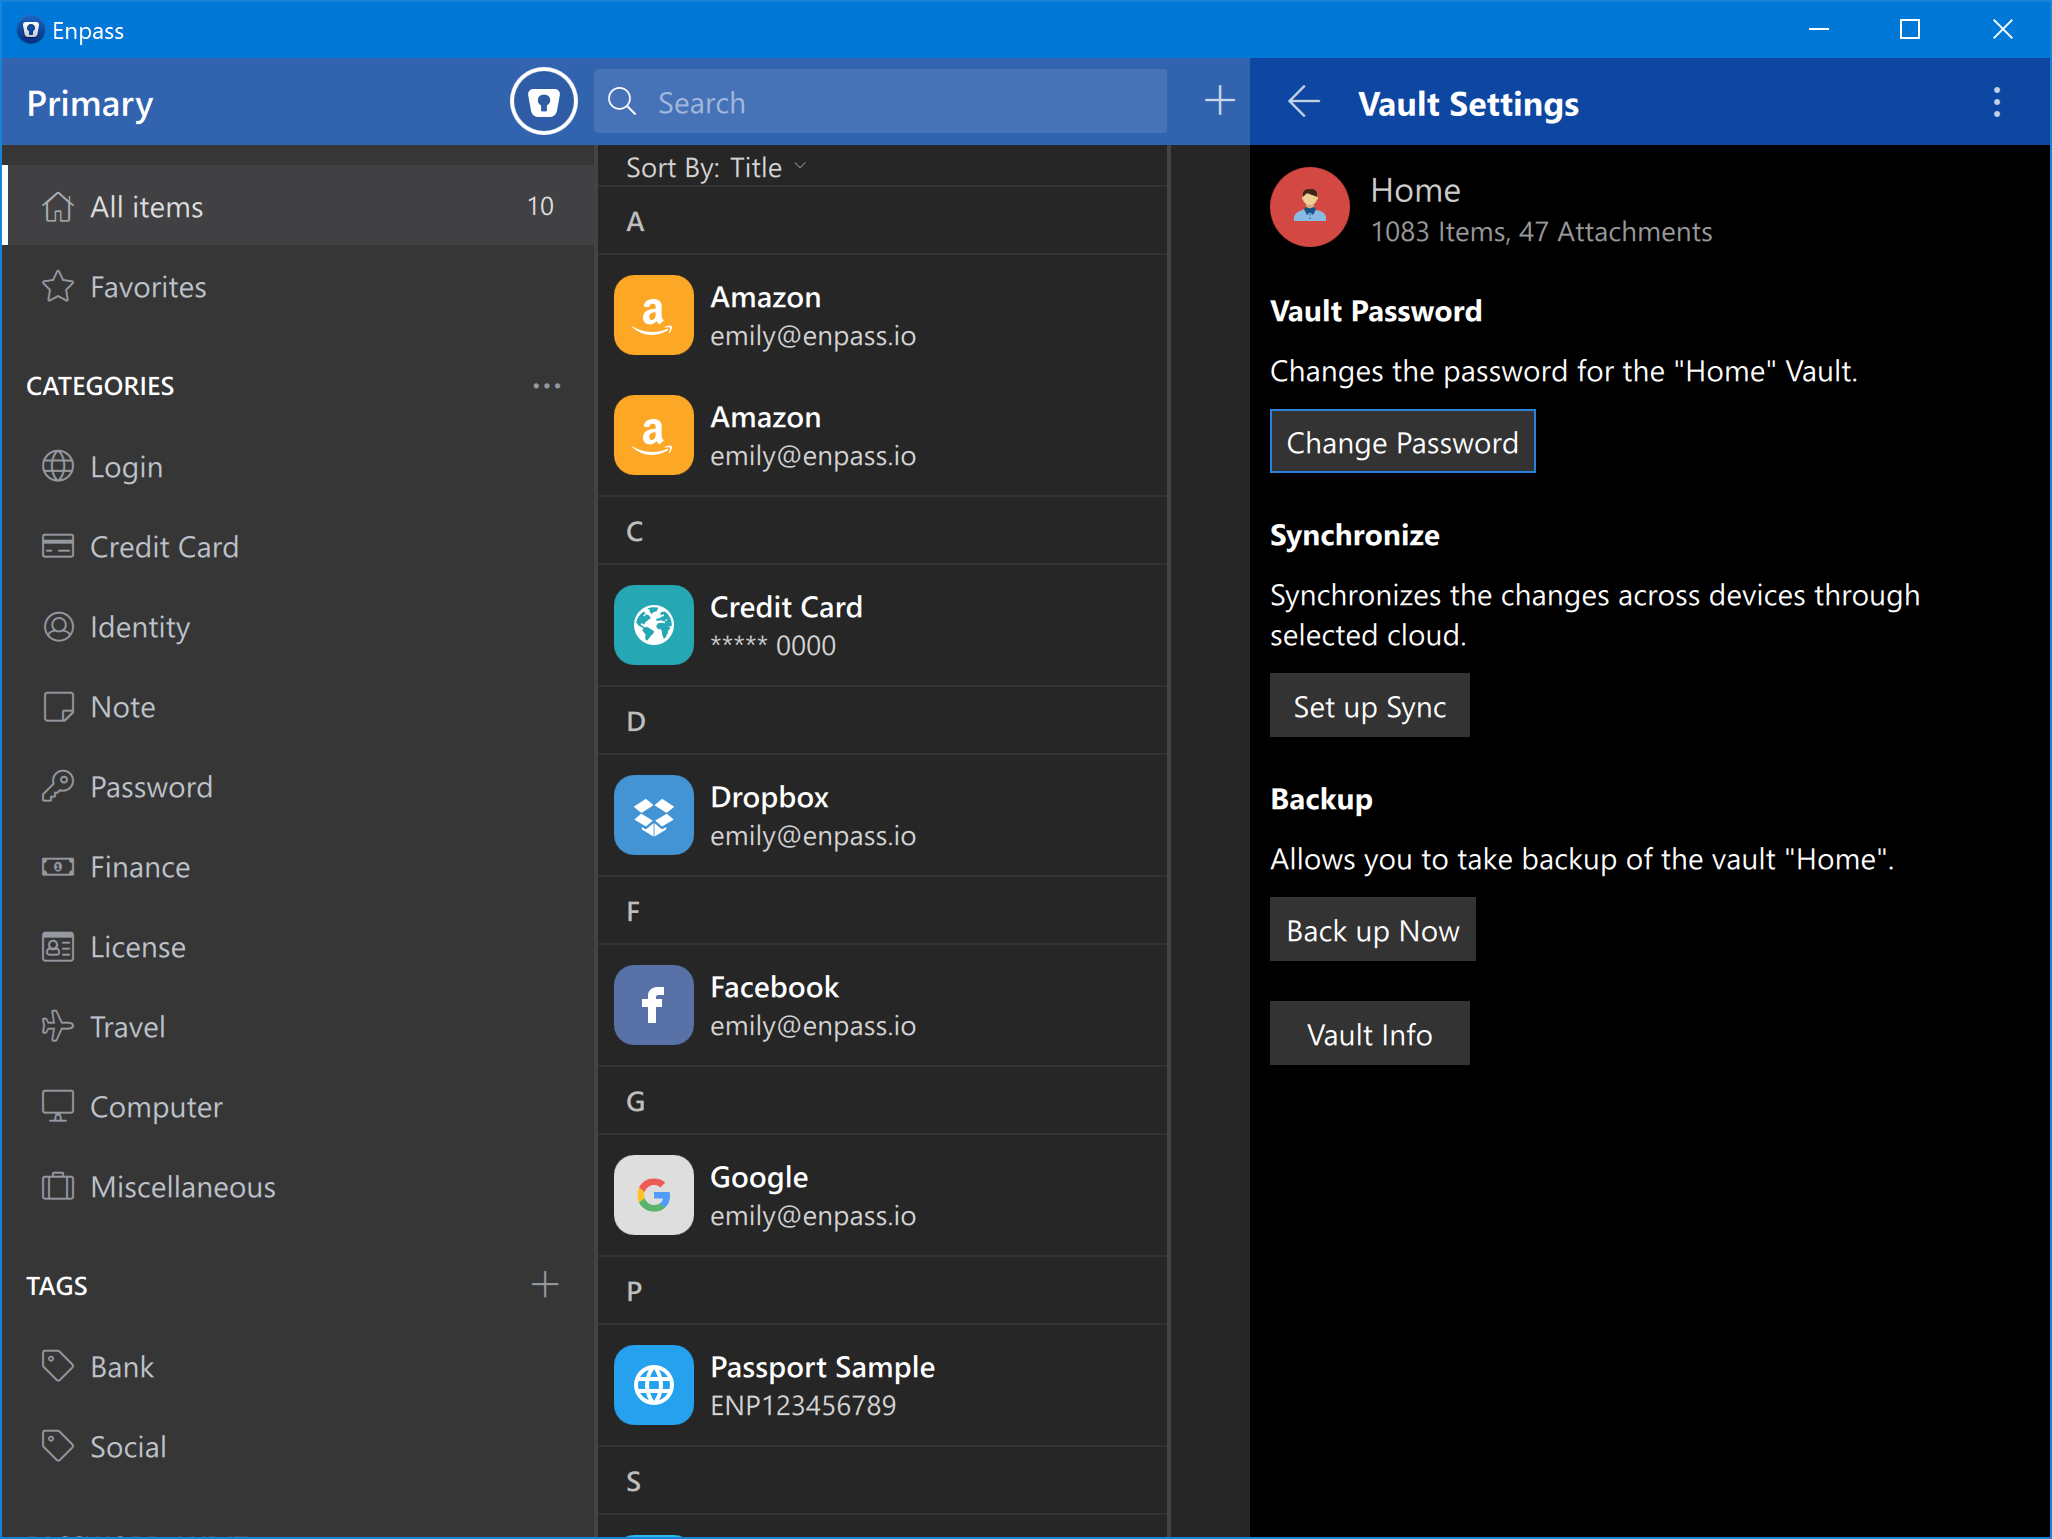
Changing Vault settings
To manage the settings of any particular vault, go to Settings → Vaults → Choose the vault. You’ll be directed to the Vaults Settings page where you can customize the vault specific settings described below.
Change Vault Password
- Click the Change password → You’ll be directed to the Authorization screen where you need to enter the master password to authorize yourself → Enter a new password and confirm the password → Click Done.
- The password of the Primary vault acts as the master password of the Enpass, so changing this password means changing the master password of Enpass.
Note
If you have enabled sync, the new password for Enpass data will get updated to the cloud during the next sync operation. The other devices syncing with that cloud will show error during the next sync attempt.
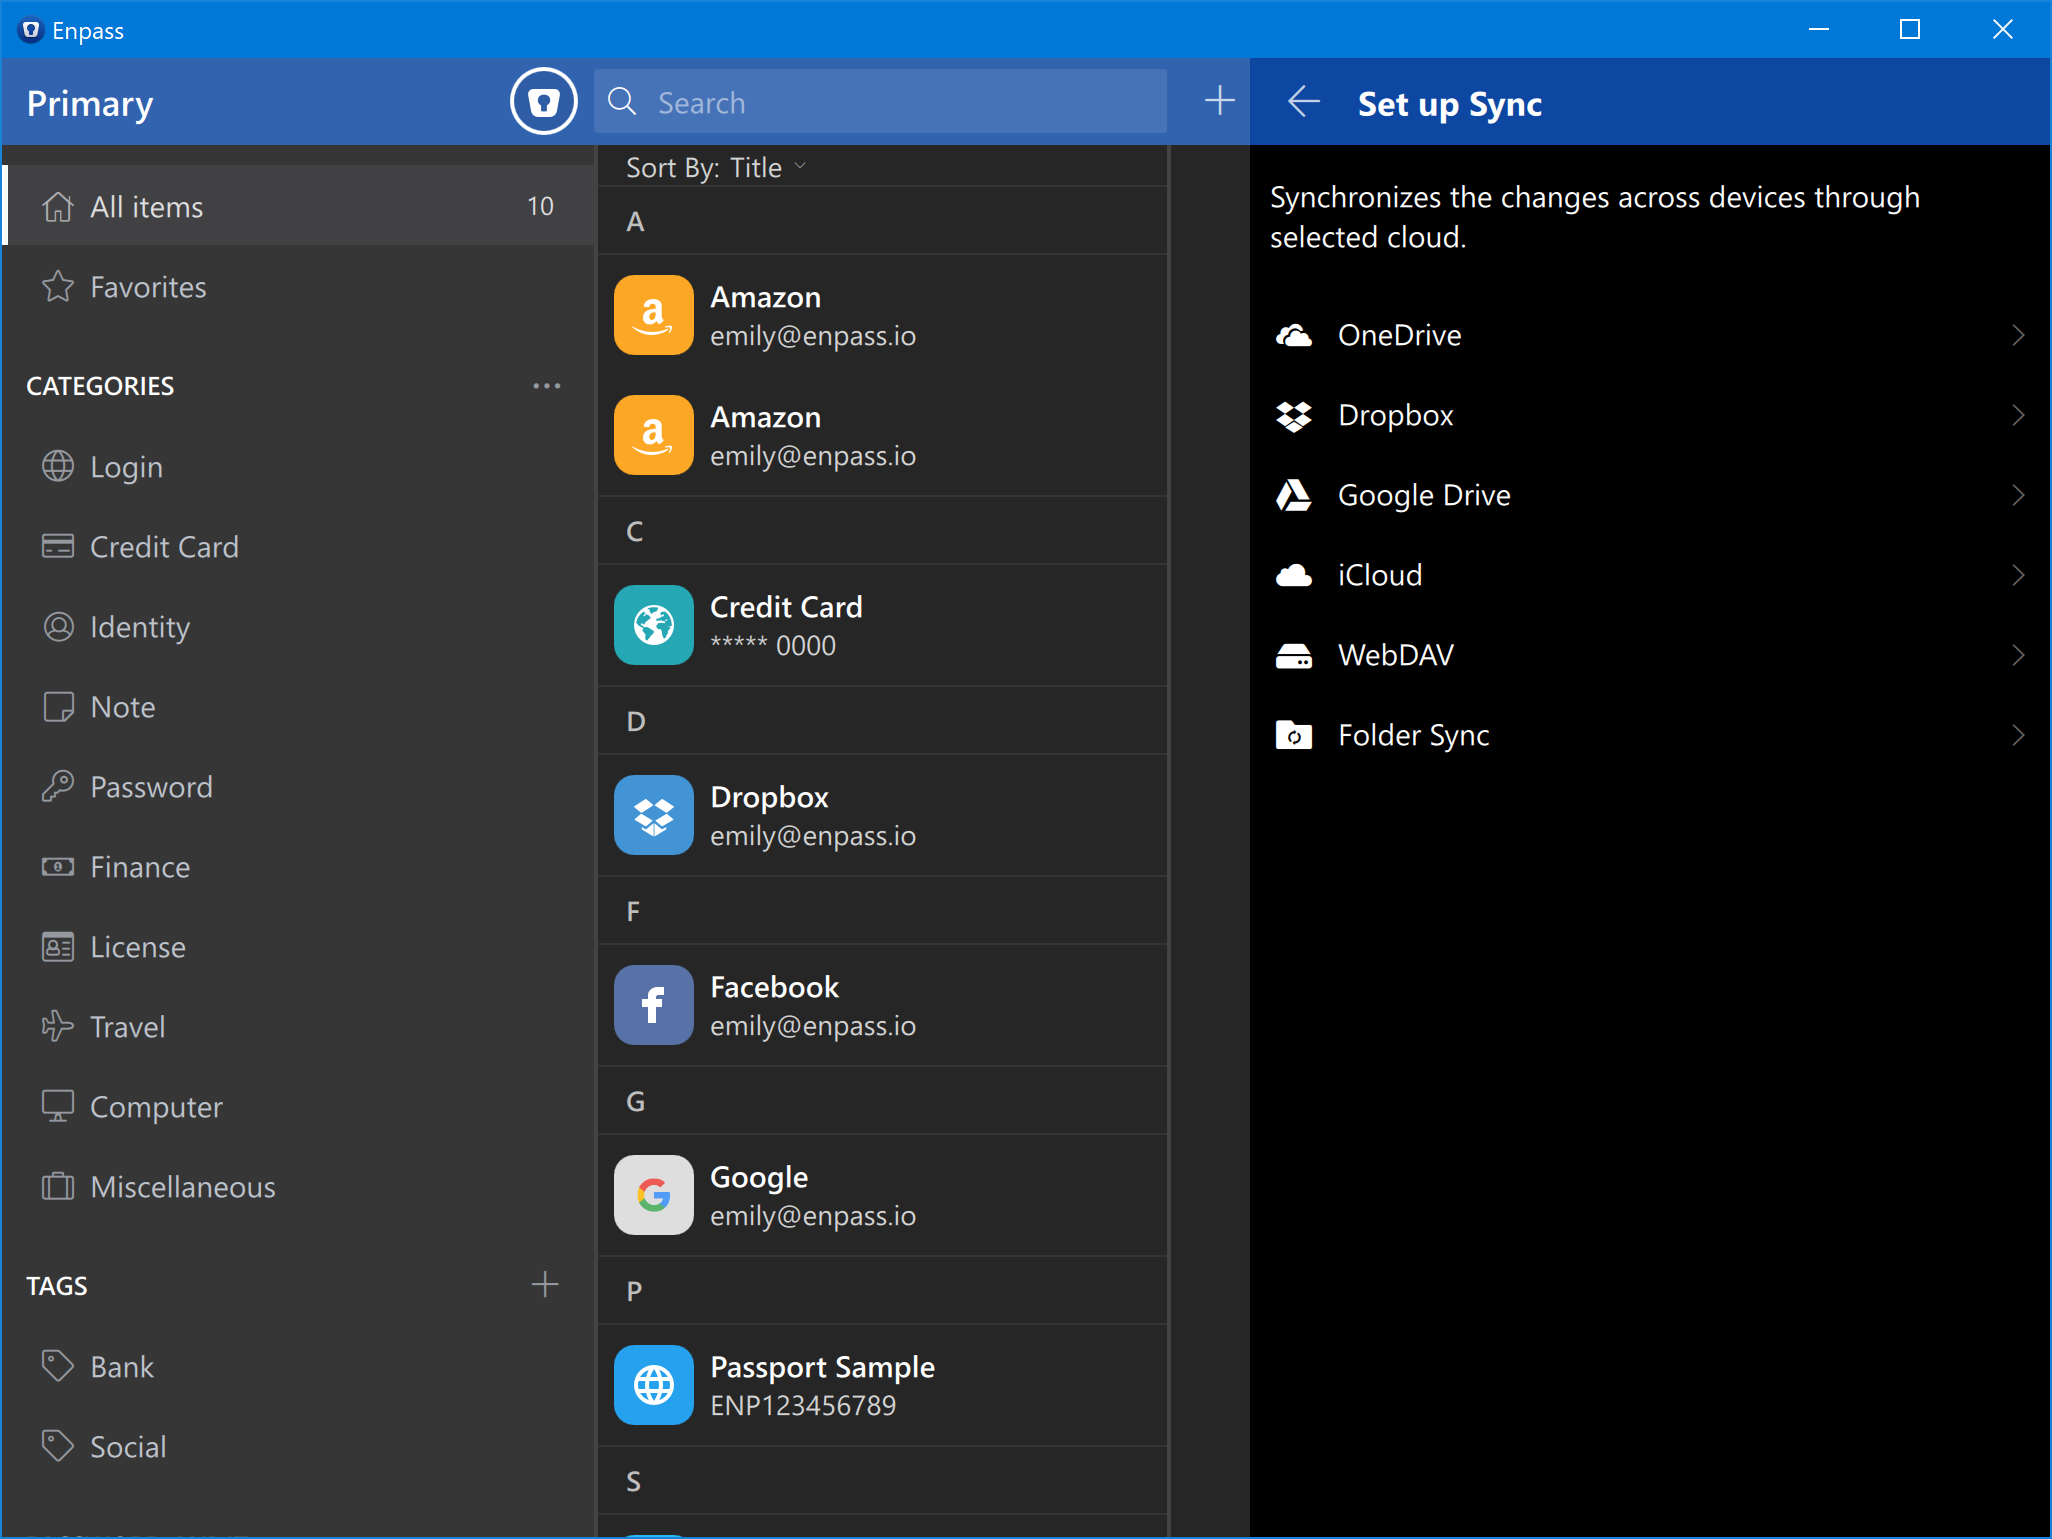
Set up Cloud Sync
Following steps will guide you through the cloud sync process:
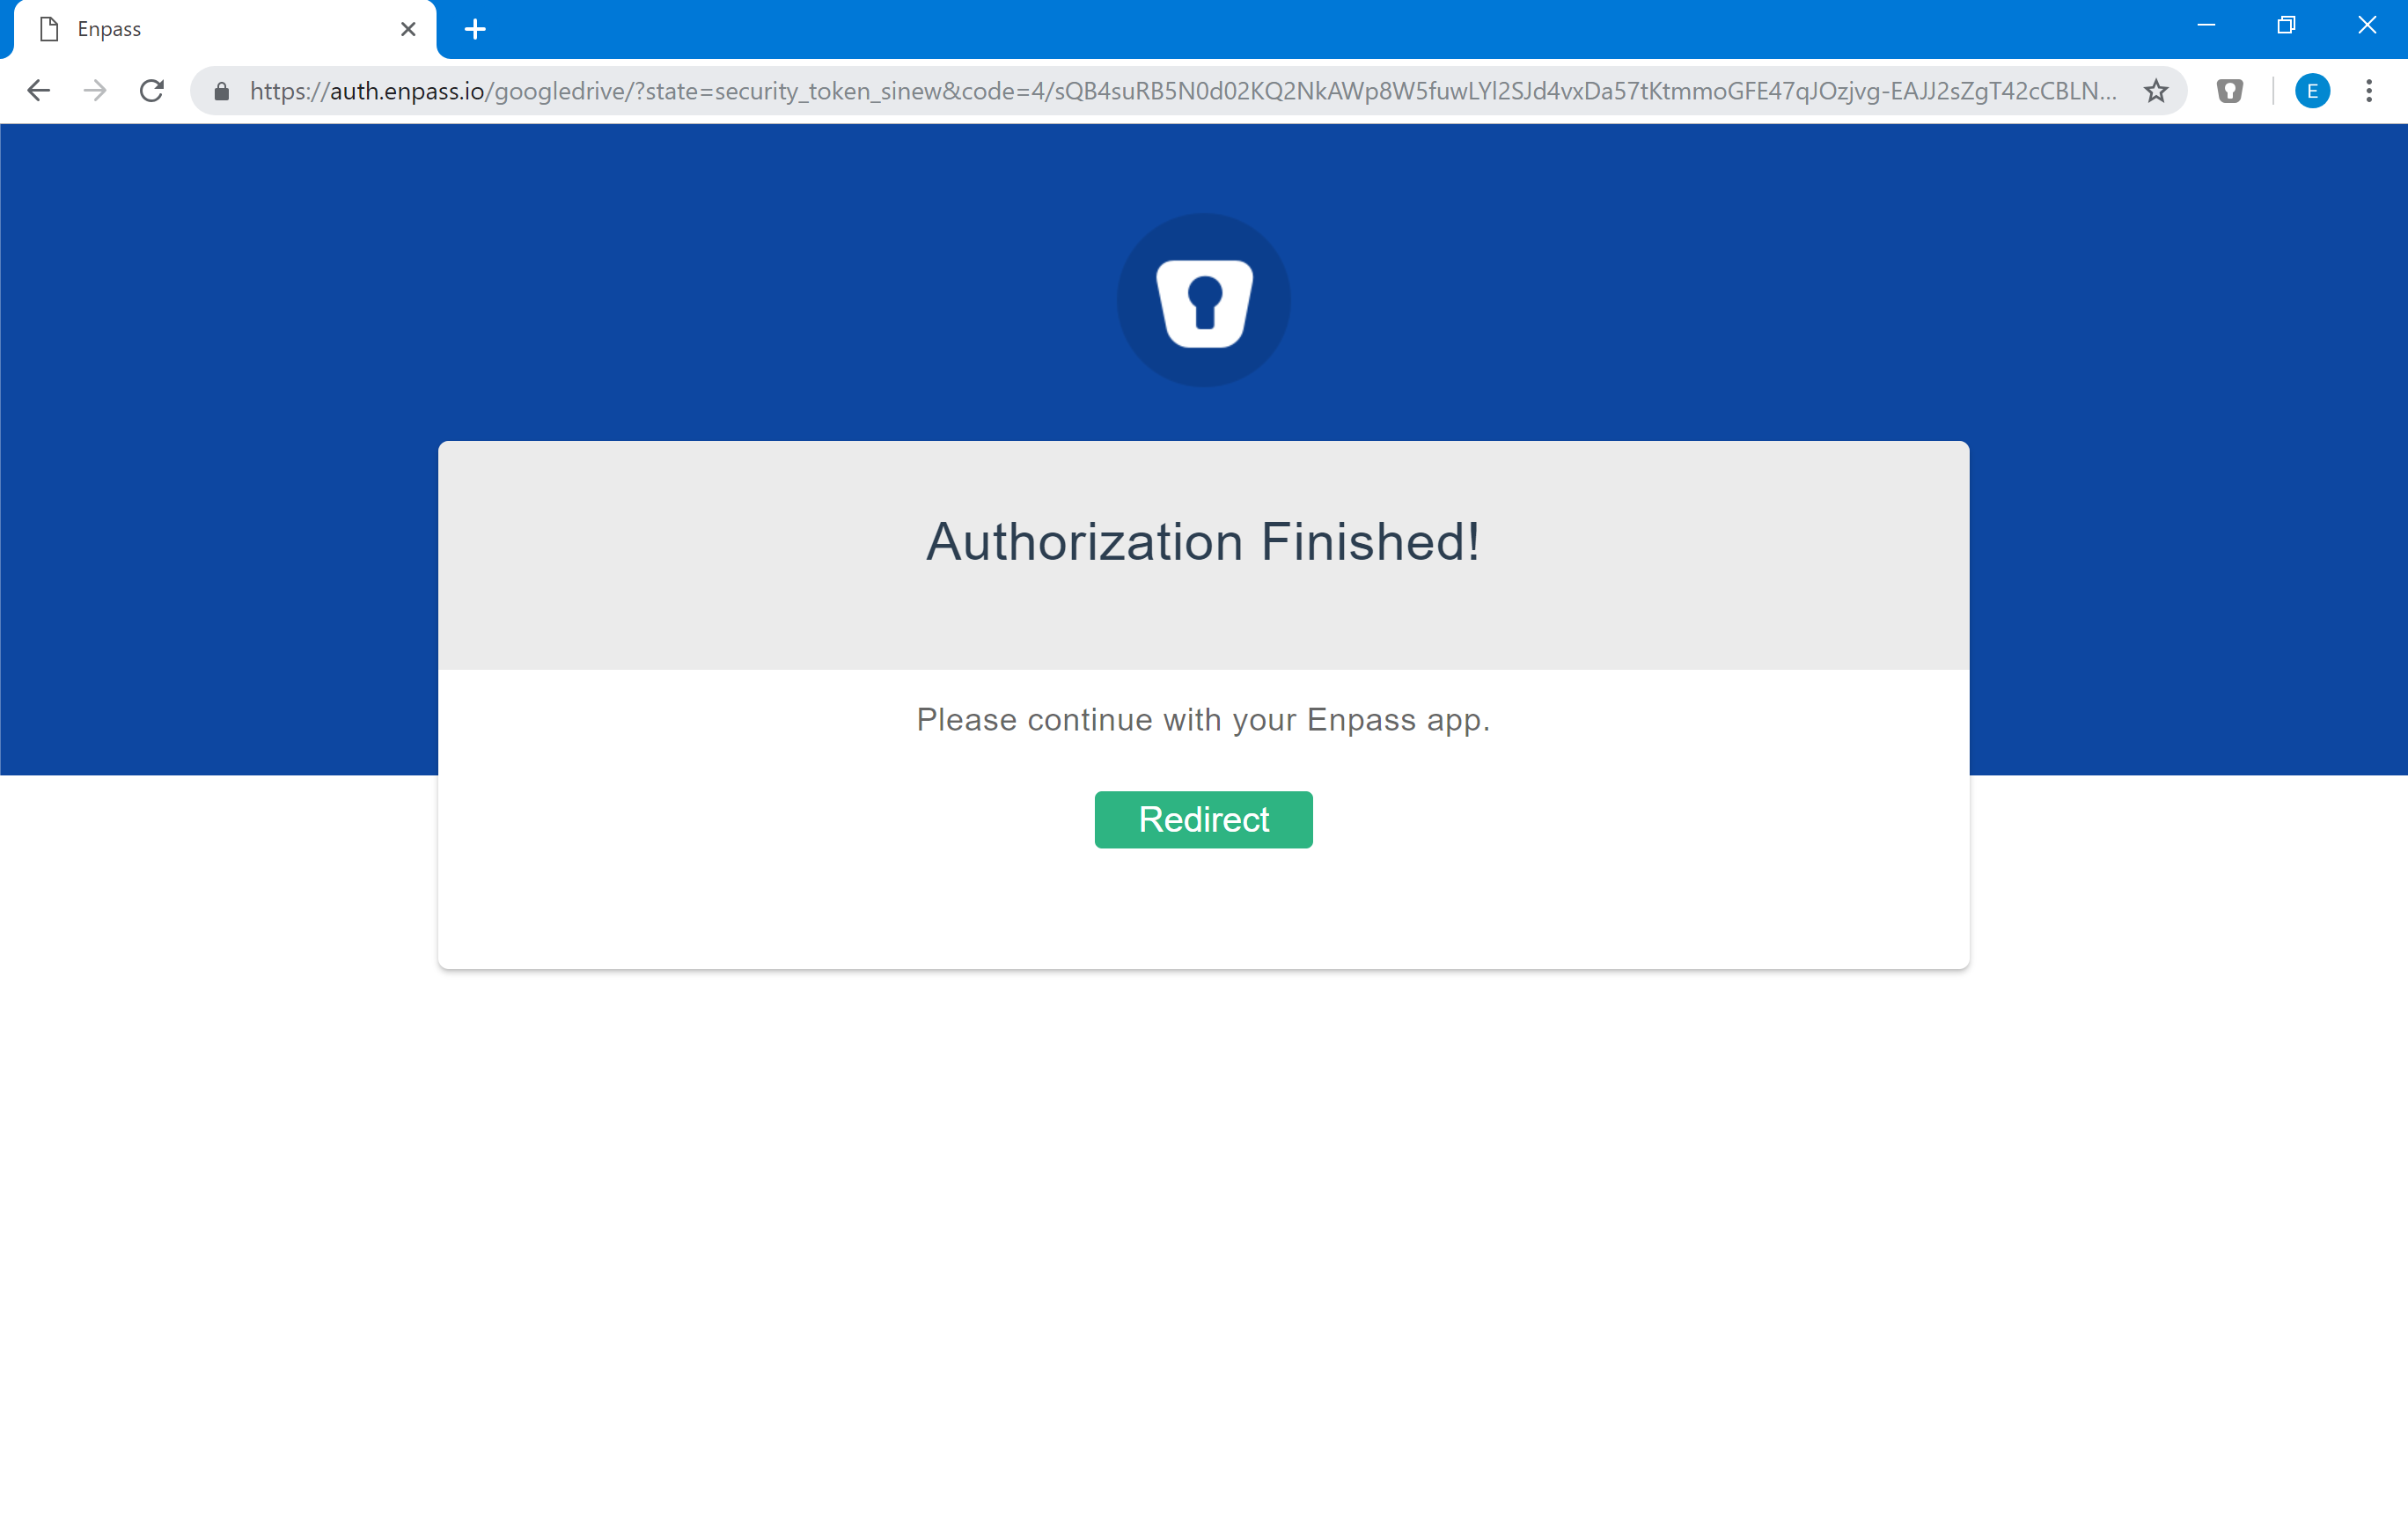
- Select your cloud from the list. You will be directed to the authentication screen of that cloud. Enter your credentials in its login screen. Grant permissions to the cloud to continue with the sync process.
- Your data will be synced successfully. Time stamps will also get updated. In case, you have restored your data in a new device, you’d notice the following screen at the completion of the sync process.
Set up Folder Sync
- Click on Set up Sync and select Folder Sync from the list.

- It will open the local storage directory where you can choose any folder of your choice or even create a new one to sync the Enpass data.
Set up Wi-Fi Sync
Wi-Fi Sync in Enpass lets you sync data between devices connected to same network. To use Wi-Fi Sync, you need to start Wi-Fi Sync server from a desktop device on the network and host the vaults from that desktop to which other device on the network can connect and sync. The complete details of setting up Wi-Fi sync and configuring sync on other devices are described here.
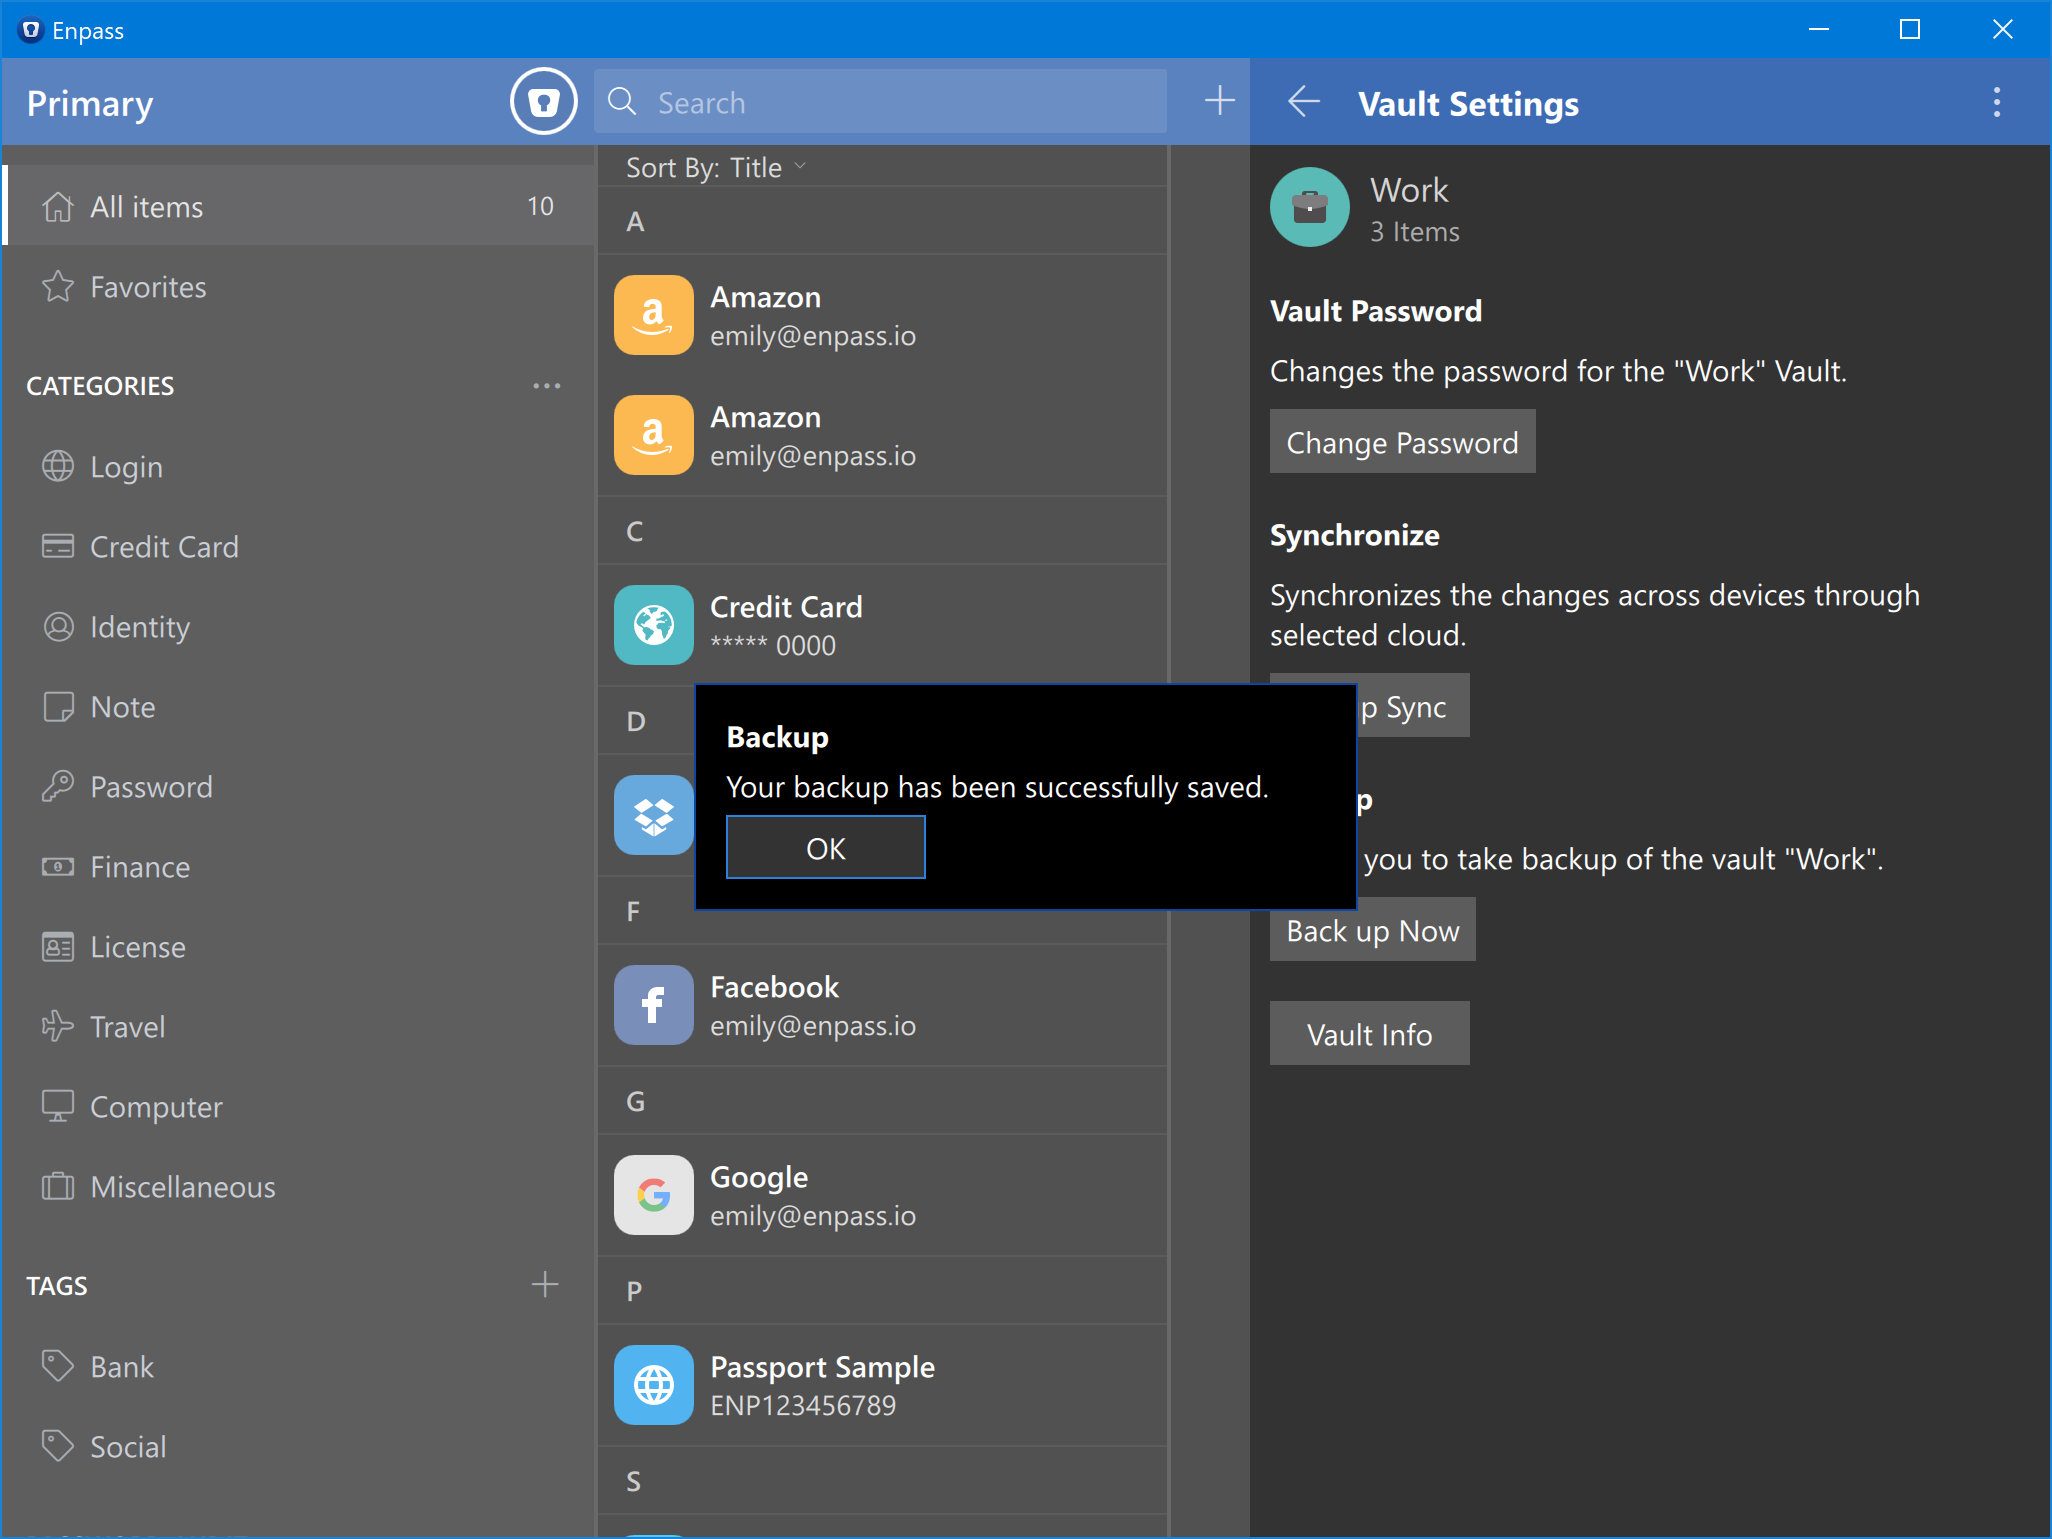
Backup Now
This feature lets you take backup of your vault data on your device.
On Device
Click Backup Now and choose the location to save your backup in your device. Click save to save the data.
Vault Info
You can get the necessary information about the vault from here.
Show Password
Click the options menu (3-dots) button and click Show Password. You’ll be asked to authorize yourself by entering the master password of Enpass. After authorization completes, you can see the password of the vault.
Remove Vault
Click the options menu (3-dots) button and click Remove Vault. You’ll be asked to authorize yourself by entering the master password of Enpass. After authorization completes, you’ll see a warning message to ensure removing the vault. You’ll also be provided with an option to save the vault password as an item in Enpass for future reference. Unselect the option if you don’t want to save the password. Click Remove button, and done.